wedding

DIY OMBRE DIP DYE "WEDDING DRESS"

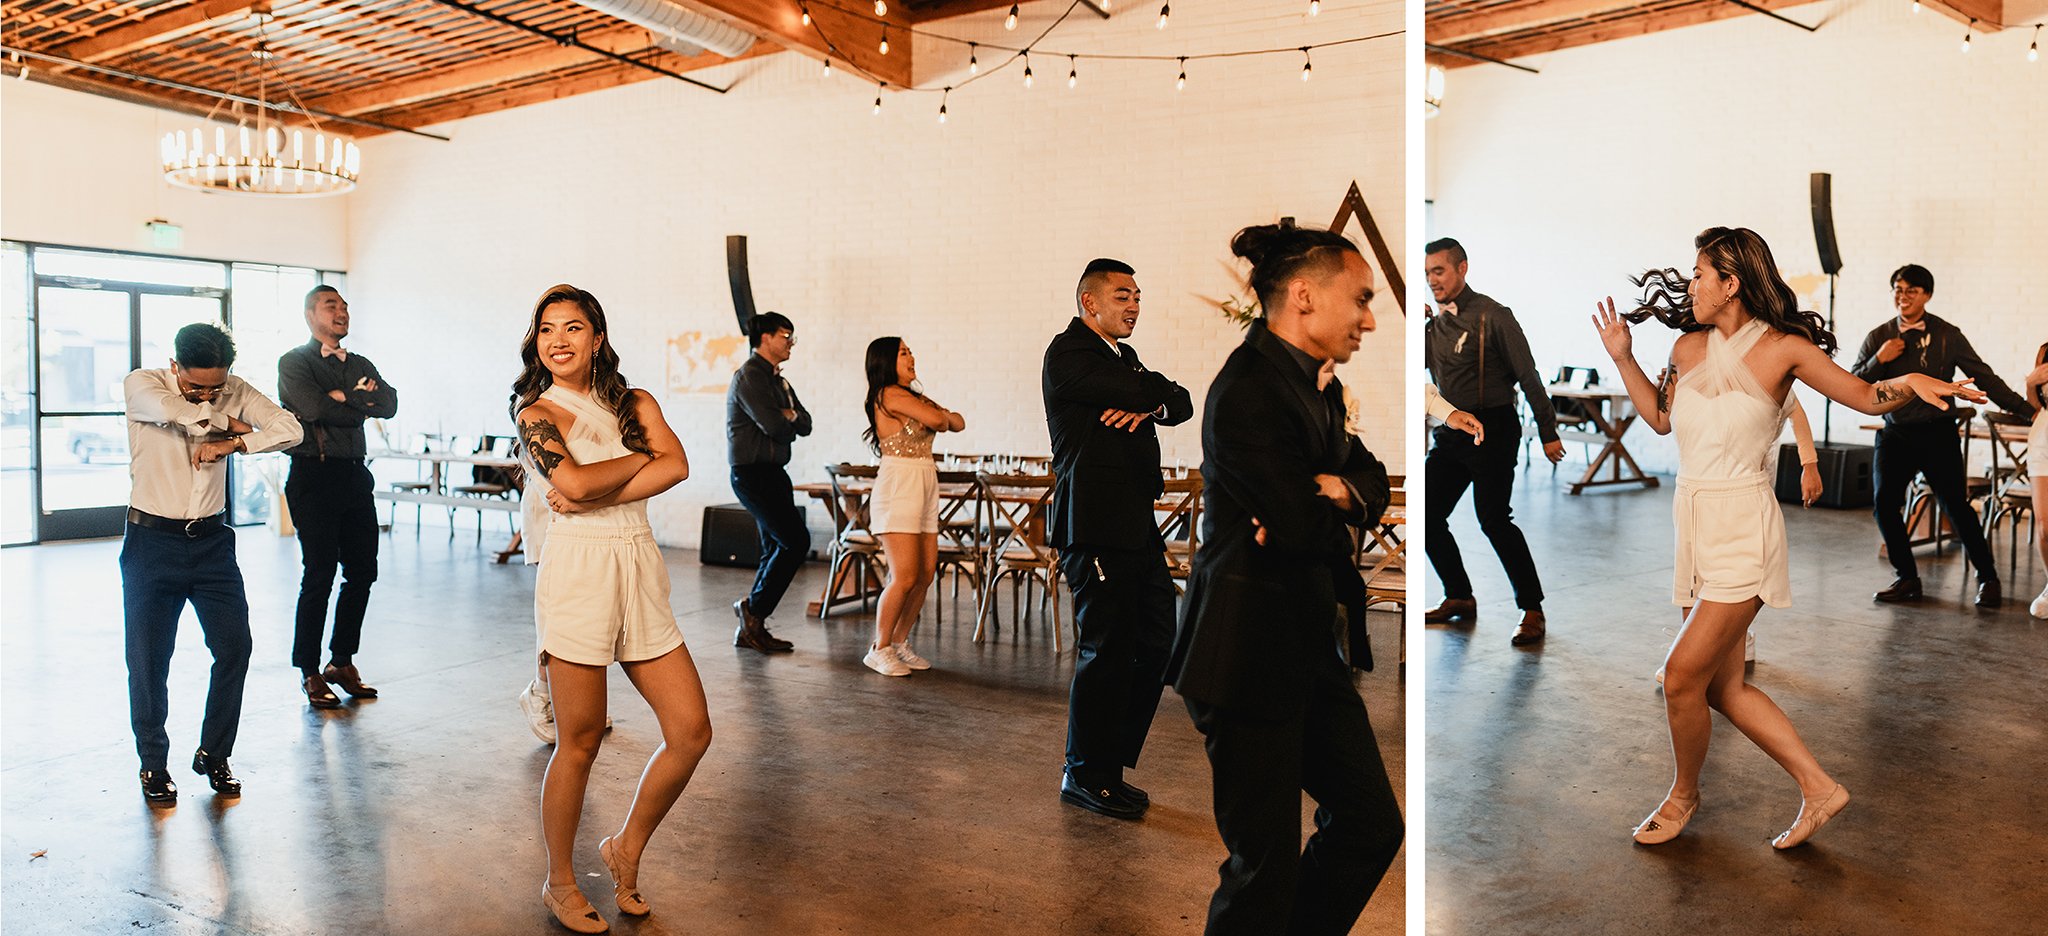
These are my old ballet shoes, from high school, that I just added studs to.

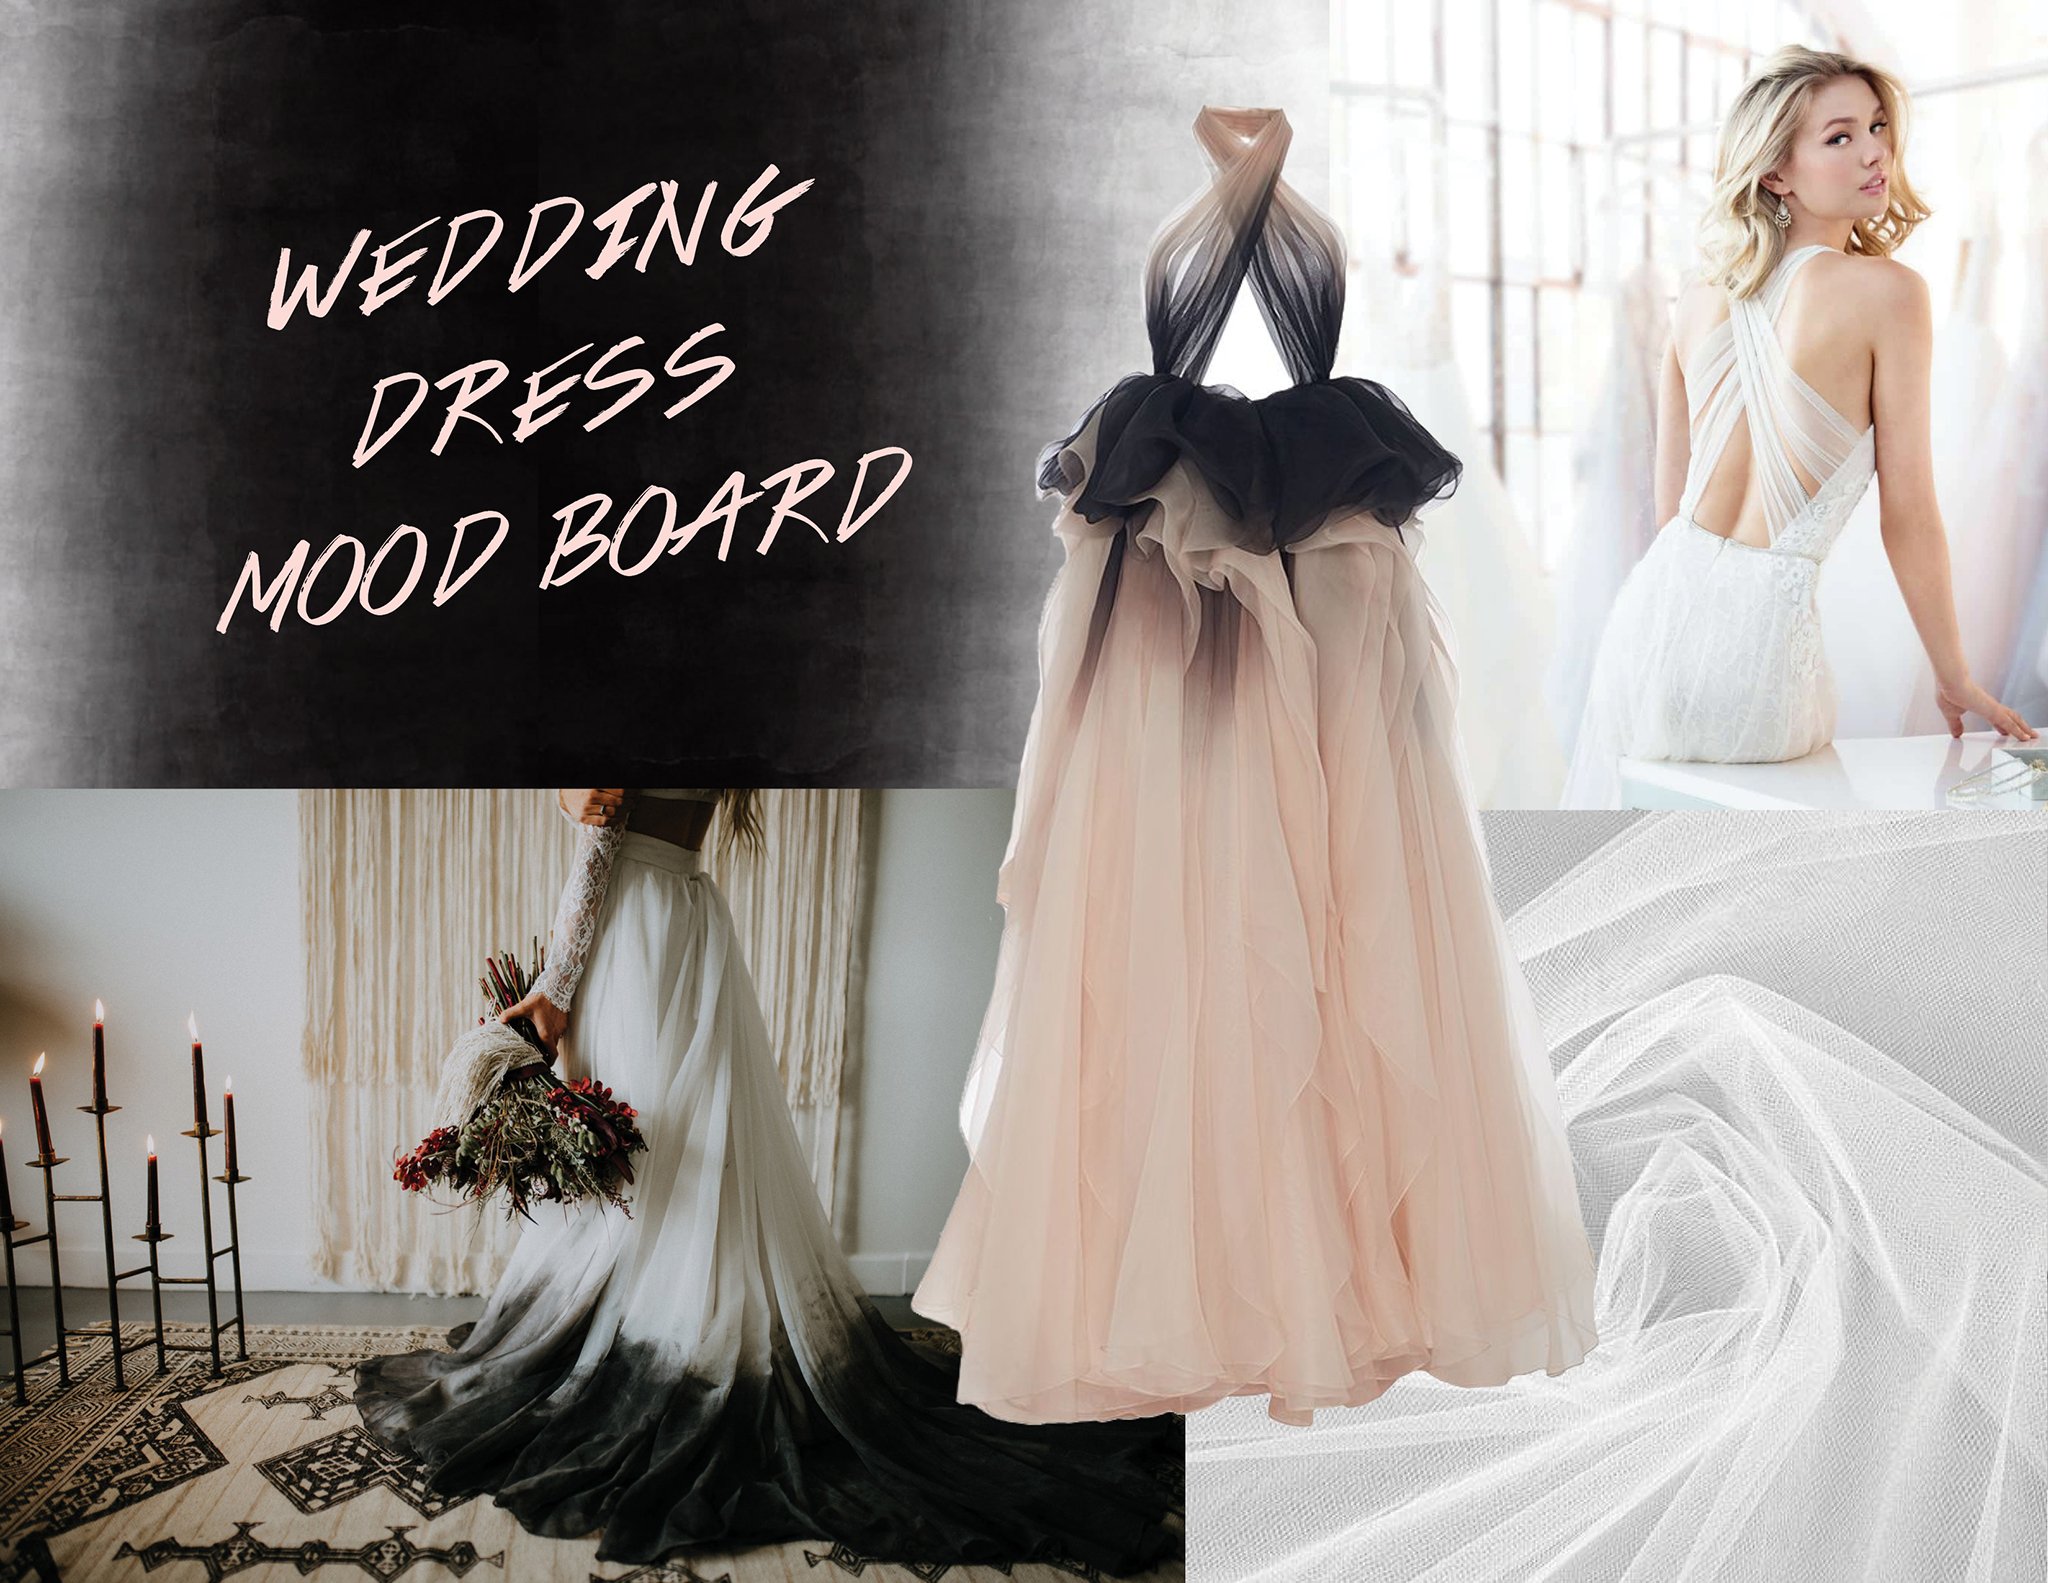
I came across this Marchesa dress years before I was engaged. It’s not a wedding dress, but I was so obsessed with the style. I adore Marchesa designs because of their light and airy materials, draping, and construction. Most of their evening gowns look like art pieces, since they’re heavily inspired by origami prints and shapes. 

Once I got engaged several years later, my mind didn’t budge. This still remained my main wedding dress inspiration, but I made many adjustments to mold it into exactly what I wanted. After brainstorming my vision, I began researching the process.

STEP I | READY-TO-WEAR OR CUSTOM DESIGN? | 1.5 YEARS AWAY

Trying to find the wedding dress I was envisioning was a fail, so I figured it would be easiest and cheapest to split it into a top and skirt. There was an Etsy shop that could do black ombre, but after they sent me a video of their spray painting method, I realized that I could DIY it at a significantly lower cost.

The first piece I bought was a white tulle skirt from a Ukrainian Etsy shop for $92.69. They have a wide variety of colors to choose from, and they custom make each one, based on the length and waist size that you want.

I then browsed for a white top similar to my inspirations, but had no luck, so that’s when I turned to custom designing.

STEP II | DESIGN SKETCH | 1 YEAR AWAY

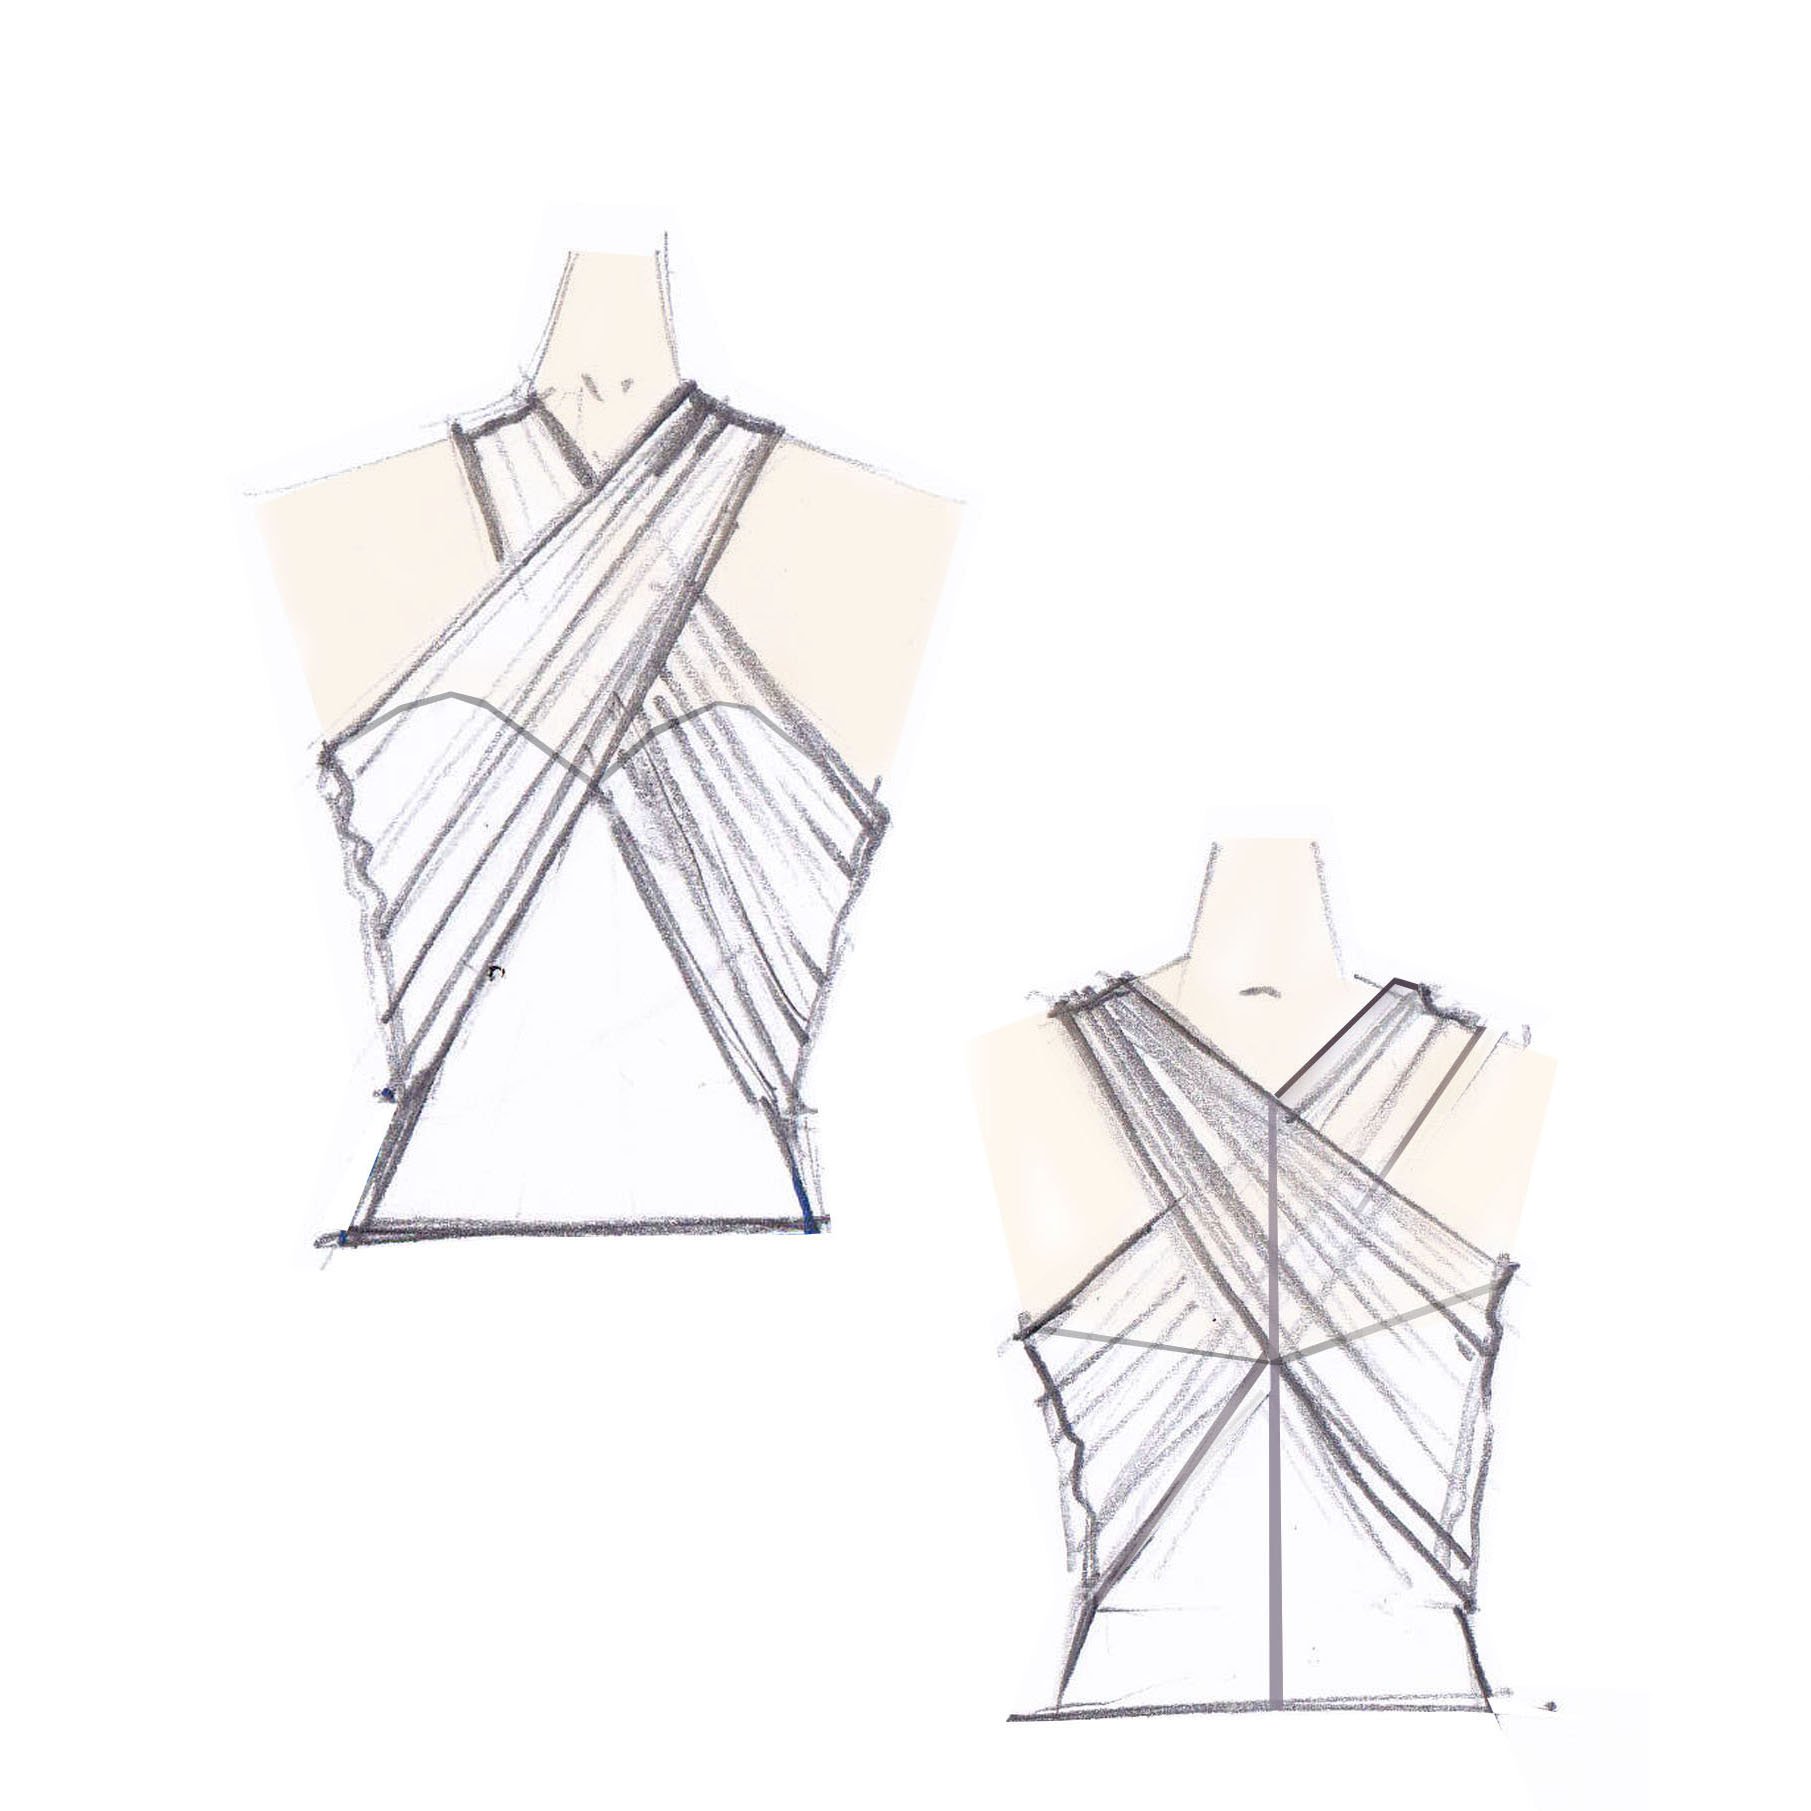
I found a bridal shop, called Connie Tao Designs, that could custom make my top and dip dye my skirt, but communicating with them was extremely frustrating. Over the span of eight months, they didn’t design shit, aside from giving me this half-assed sketch that I had to repeatedly ask for. Can’t relate to all of their five-star reviews…

Then over the holidays, my aunt showed me her wedding album and told me that she designed her accessories, wedding dress, reception dress, and bridesmaid dresses all by herself. Unaware of the terrible experience I had with Connie, she asked if I needed help with anything, and that’s when everything magically started coming together.

STEP III | SOURCE FABRIC | 6 MONTHS AWAY

We went to JOANN to find fabric that matched my skirt. The closest ones we could find happened to be on sale for $38.66. I also got extra fabric, so that I could test the spray paint later on.

STEP IV | DESIGN TOP | | 6 MONTHS AWAY

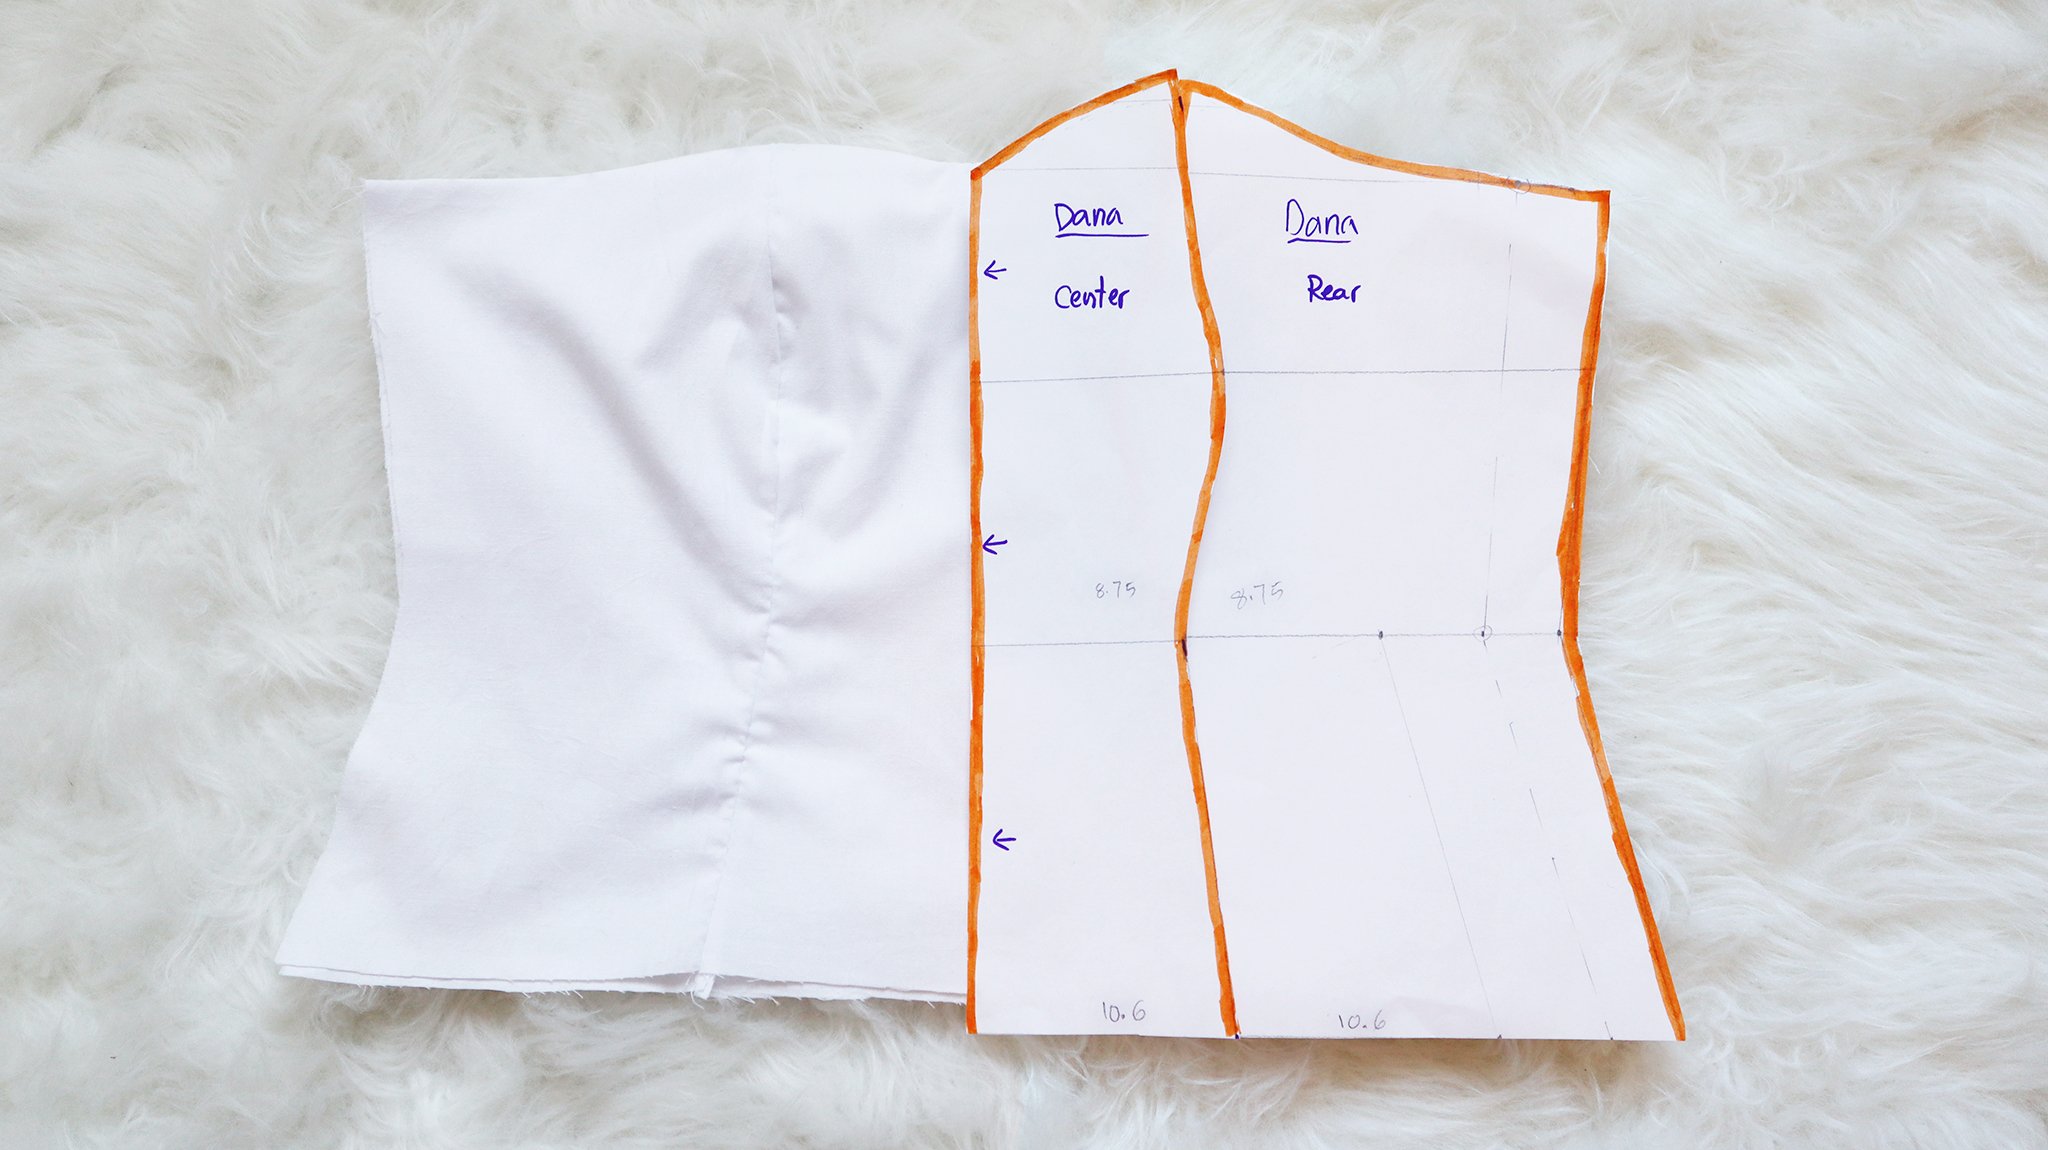
My aunt took all of my measurements to create a pattern from scratch. She then used it to cut and sew scrap fabric first. After double checking that the sample fit on me, she proceeded with the actual wedding dress fabric from JOANN. It took her just one day to complete most of my top, which was such a relief after dealing with Connie. My aunt is an incredibly generous, hardworking, and talented person, and I’m so grateful that she put in so much time and effort to help me.

STEP V | FINAL FITTING | 2 MONTHS AWAY

Once the design was finalized, we realized that I needed lots of fashion tape to hold the top to my body. This wouldn’t be an issue if it was a regular wedding dress, but because I split it into two pieces, the backless top didn’t have fabric along the bottom to anchor it. I had to buy fashion tape for the first time, which was a life changer. If only I knew about this hack before…

STEP VI | TEST SPRAY PAINT | 2 MONTHS AWAY

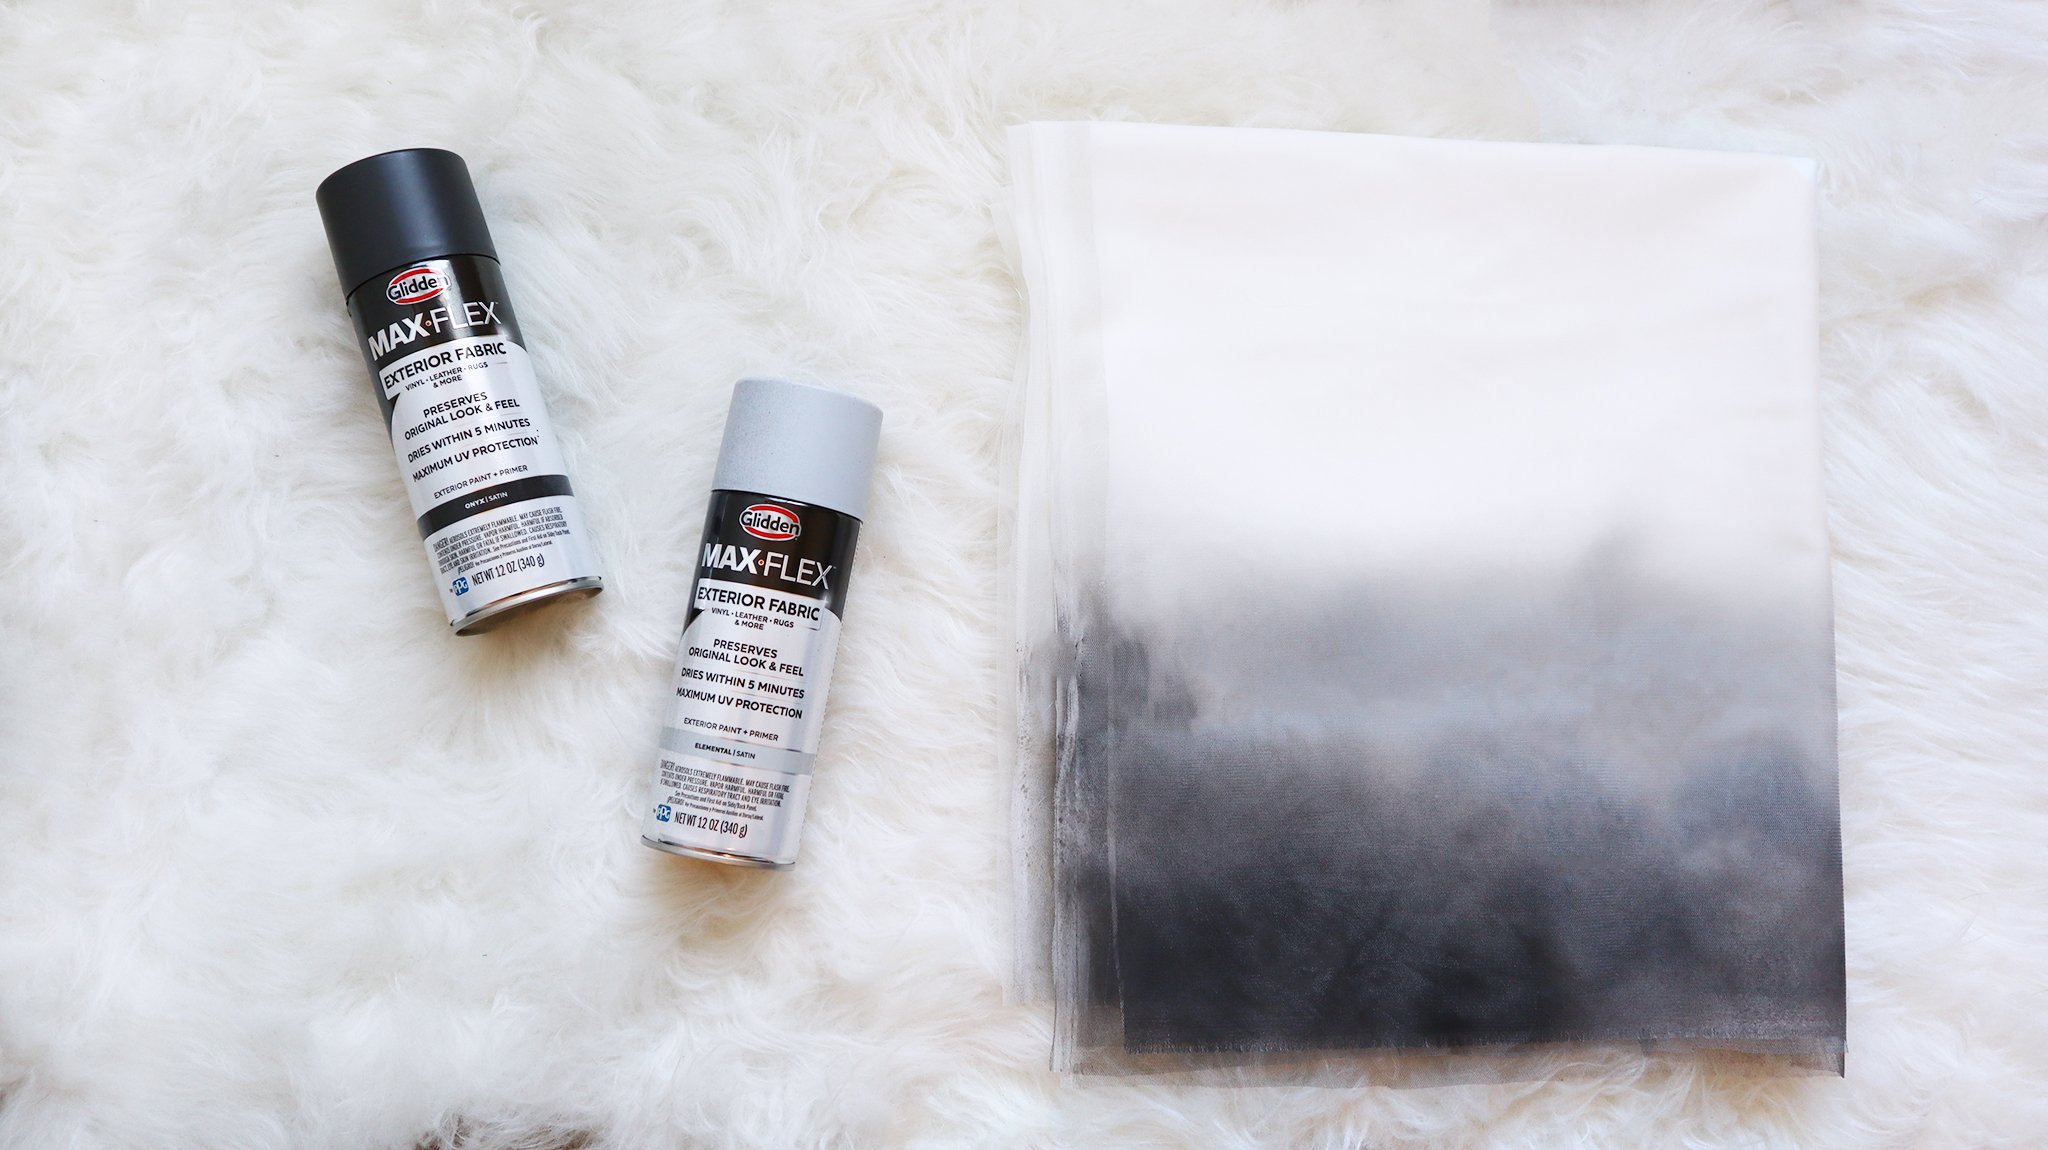
My skirt had three layers of tulle, so I cut the same amount of swatches from our leftover fabric to test the spray paint first. I bought black and gray cans from Home Depot to try to create an ombre effect. Glidden was the only brand I saw that carried these specific colors, while also being suitable for fabric. The black was perfect, but the gray was really light, so I had to spray three separate layers.


STEP VII | SPRAY PAINT SKIRT | 2 MONTHS AWAY

I hung my skirt in my aunt’s backyard and started with spraying black along the bottom. Then I sprayed all of the gray color, until it ran out. I had to spray a second layer of black, since the gray slightly faded the first layer. This entire process took about two hours, and the paint dried almost immediately.

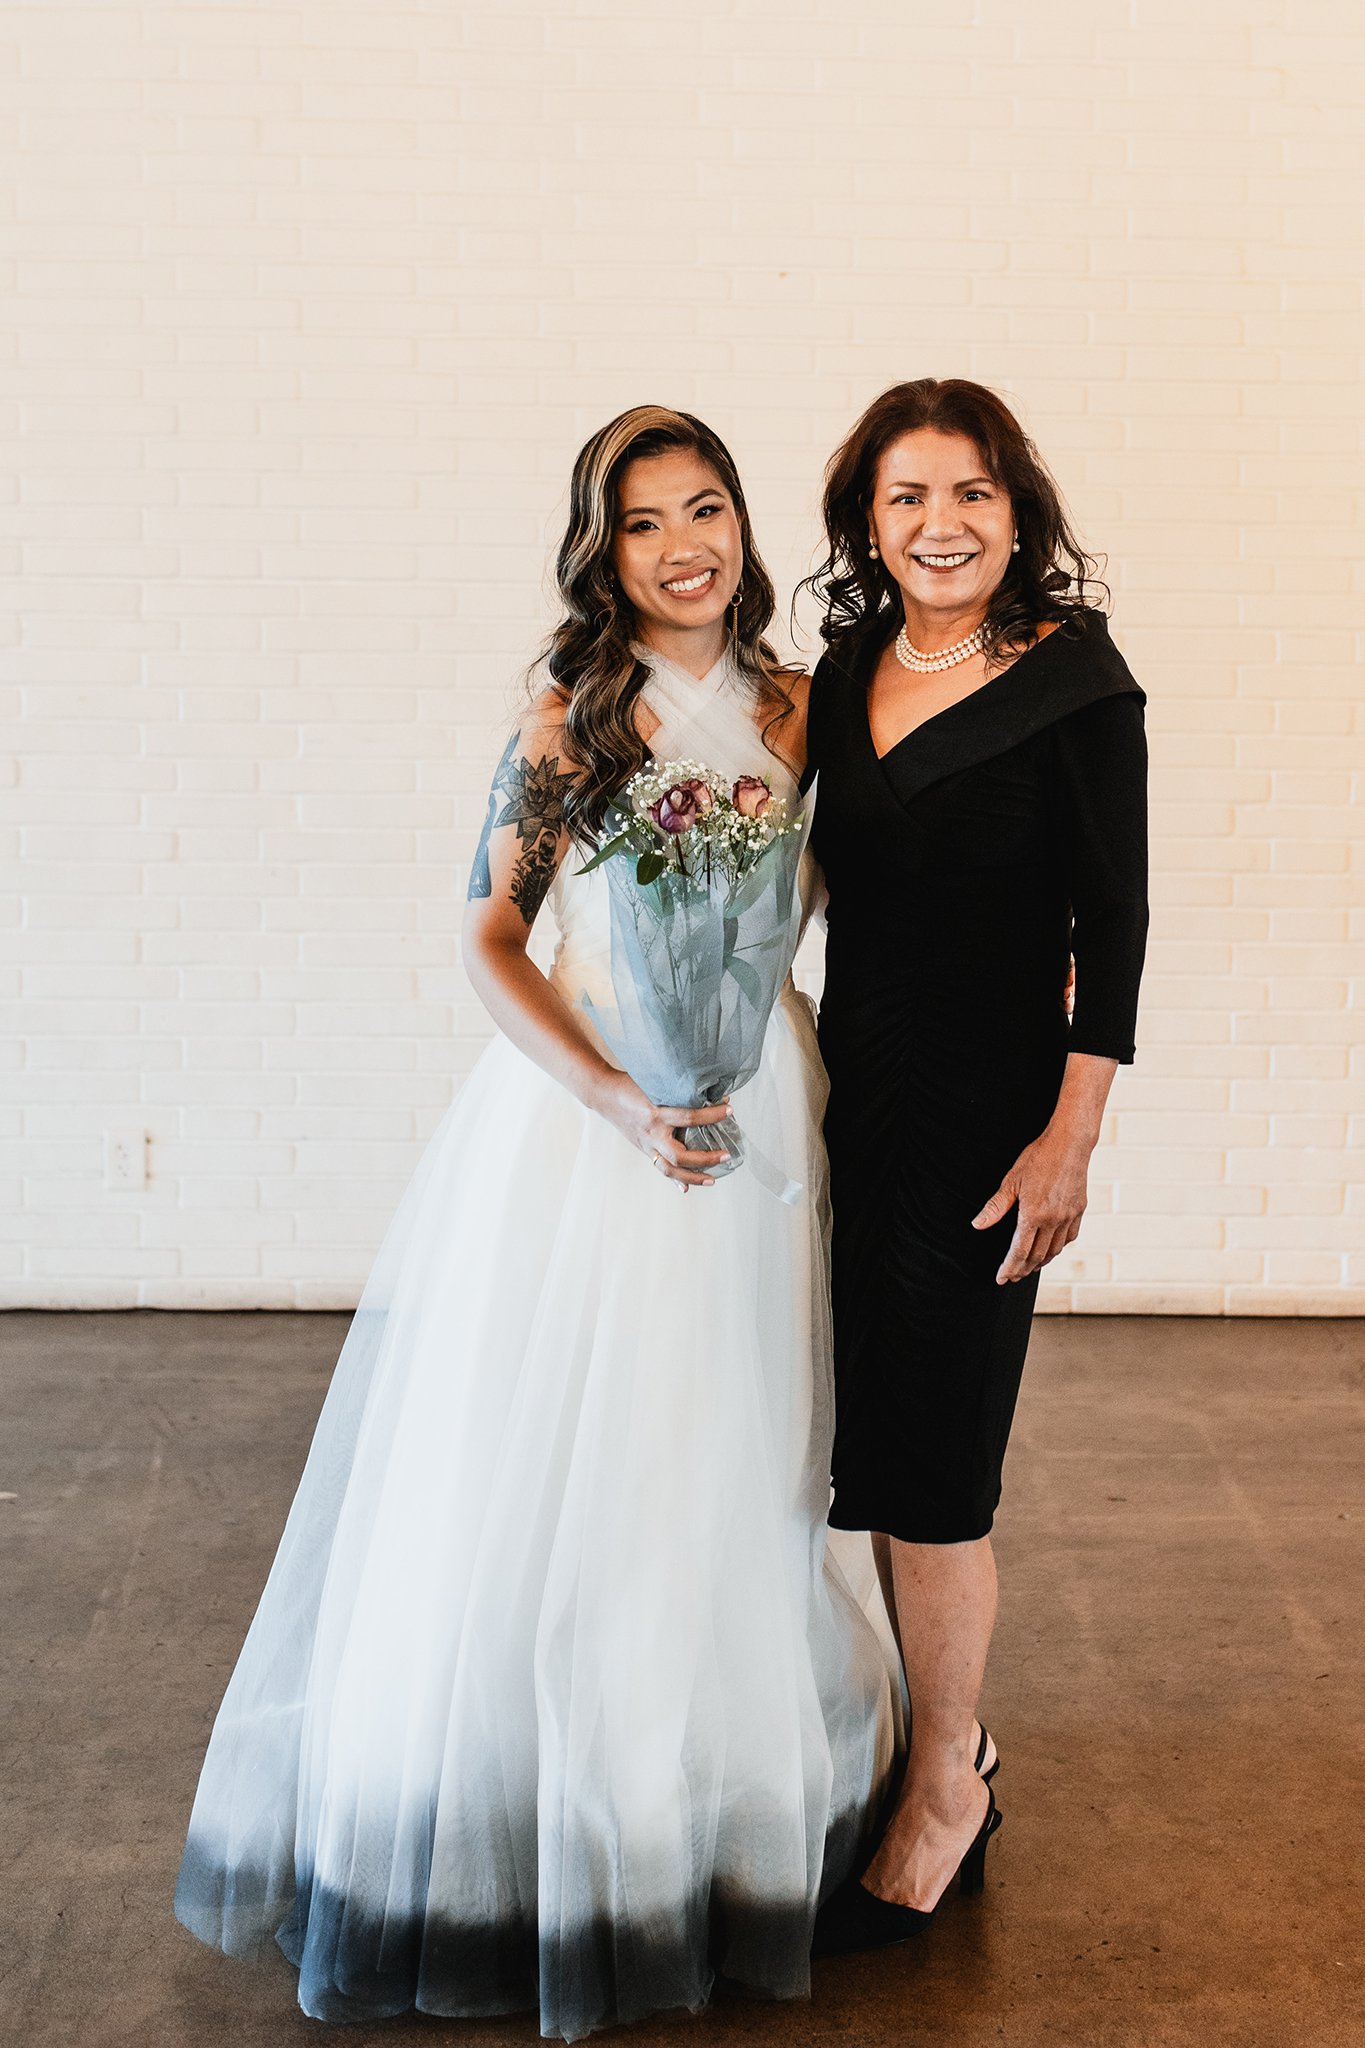
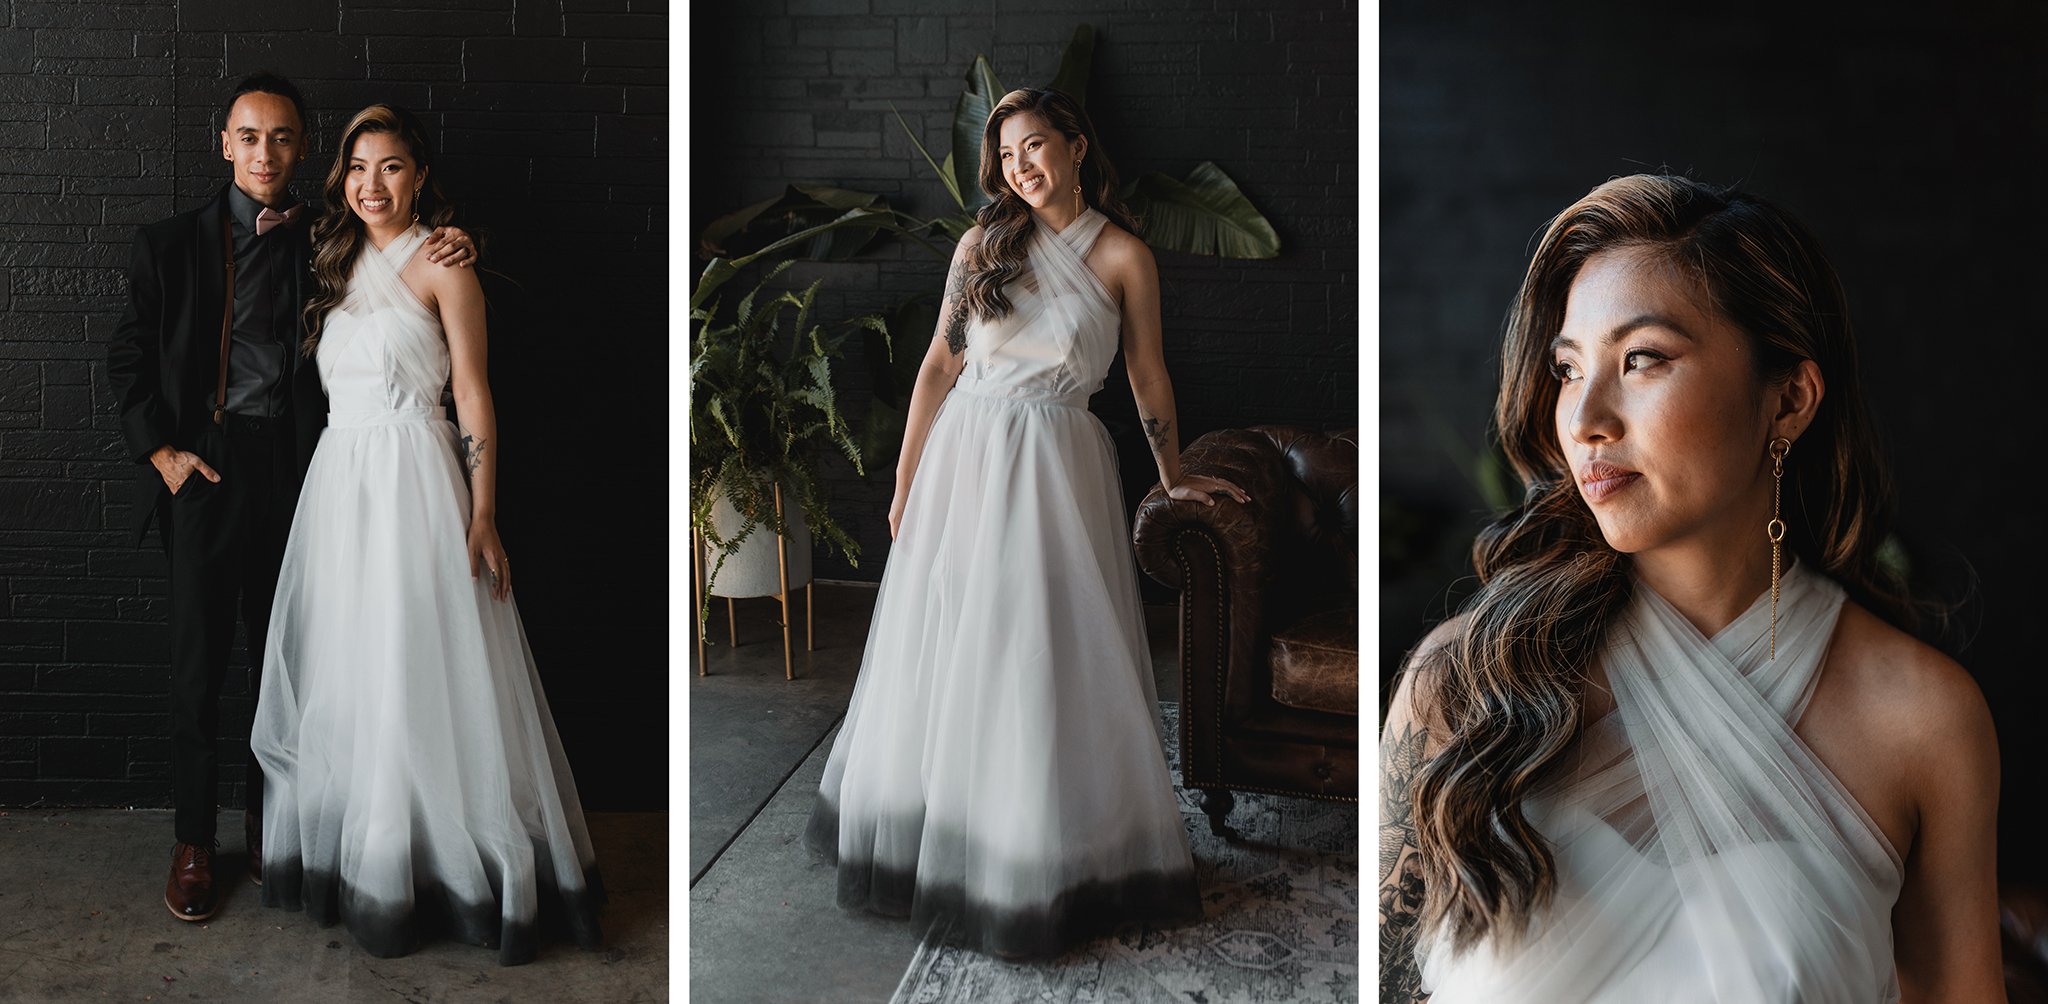
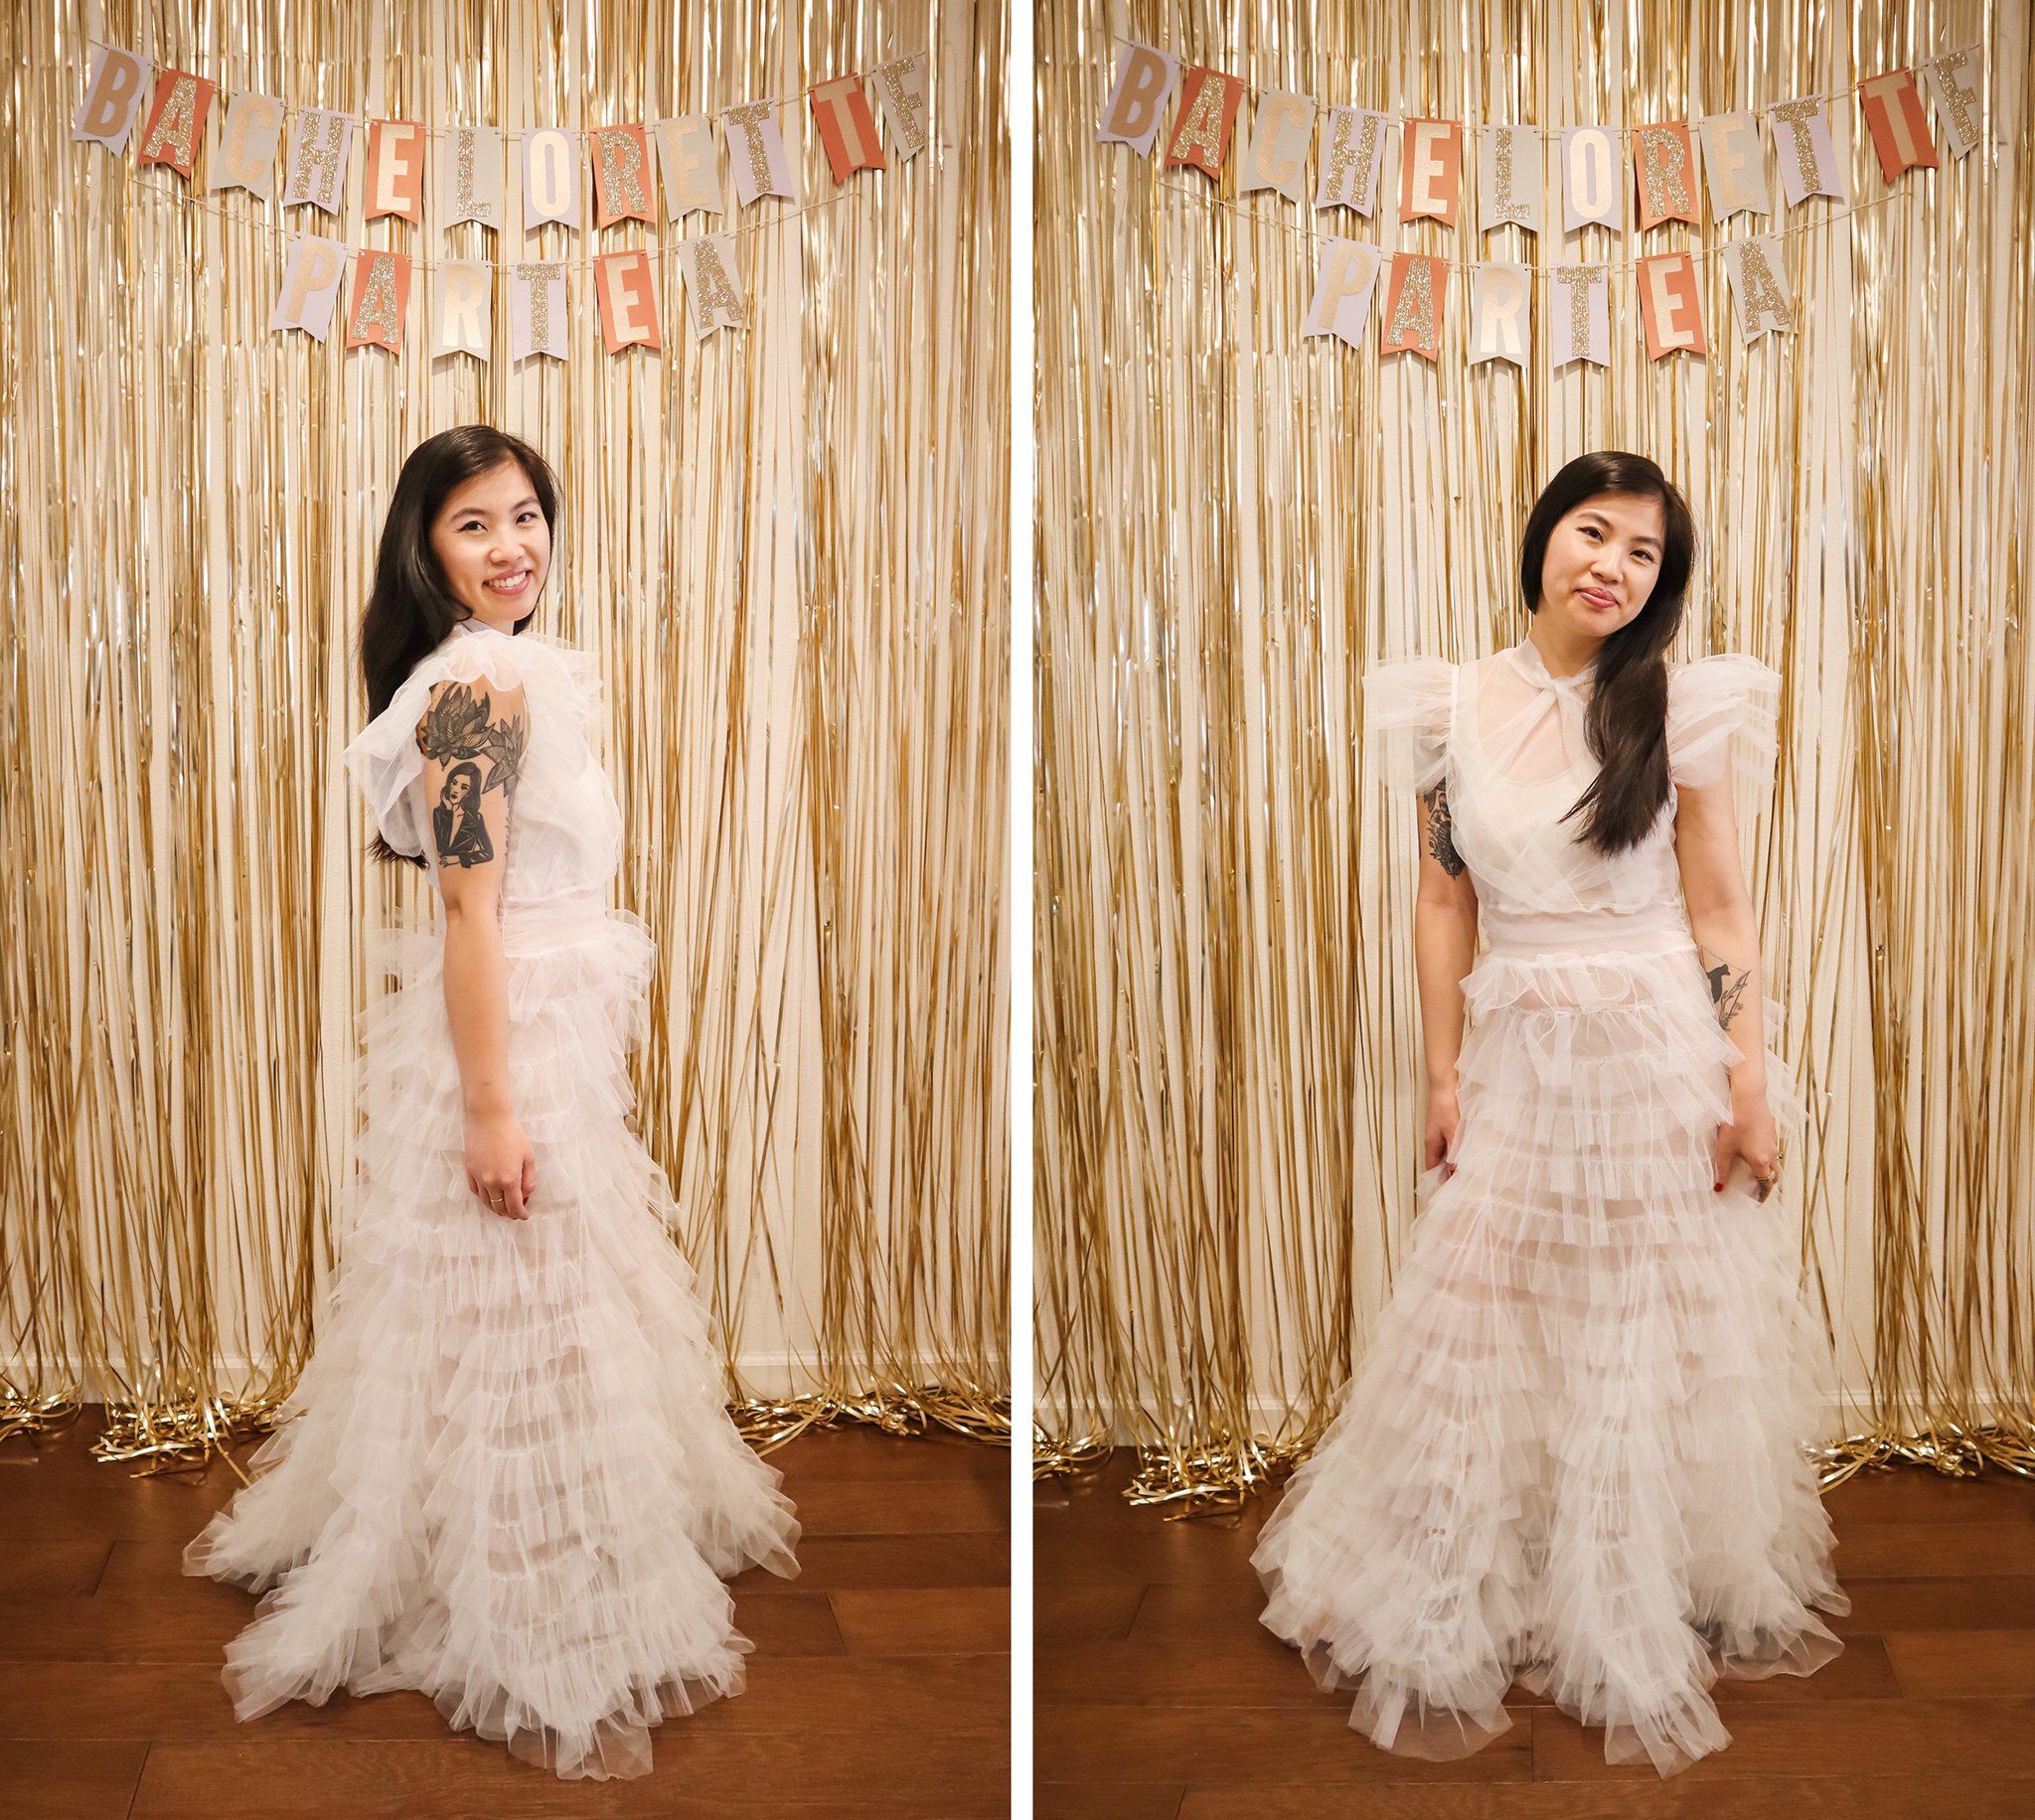
In the end, my customized “wedding dress” checked off every single one of my boxes, and then some…

+ significantly under budget

+ hid food baby

+ accentuated tattoos

+ minimal, but still made a statement

+ comfortable / breathable / moveable

+ easily used bathroom without assistance

+ easily / quickly did outfit change for wedding dance

Photography | Katie Clare Photography

xx

Dana
BACHELORETTE PARTEA

No one knows my wants and needs better than I do, so I decided to plan my own bachelorette party and just delegate tasks to my bridesmaids. All I wanted was two simple things: a dance class and a tea party.

With Adobe InDesign, I created these little itinerary cards to map out the day. If you don’t have this software, Canva and Figma are free alternatives! I handed them to my bridesmaids with short sets that I bought for the dance class. At first, I tried looking for wedding themed swag, but realized that basic solids were a safer choice. I just thought these tees and shorts were more practical and versatile than anything with bachelorette slogans.

I love dancing, but I rarely get to take dance classes with my friends, so I booked a private hip hop class at Rae Studios in San Francisco. It was so fun getting to share my favorite activity with my favorite people. I was also mesmerized by how airy, bright, and well decorated the studio was. It was a place that I was simply happy to be in.

After the dance class, we had brunch at Lapisara Eatery, which is just a five-minute walk away. They have so many yummy dishes to choose from that are beautifully plated. What I was most excited for was their assorted iced lattes that come with the cutest bear-shaped ice. Some of the flavors were ube, lavender, and salted caramel macchiato, just to name a few.

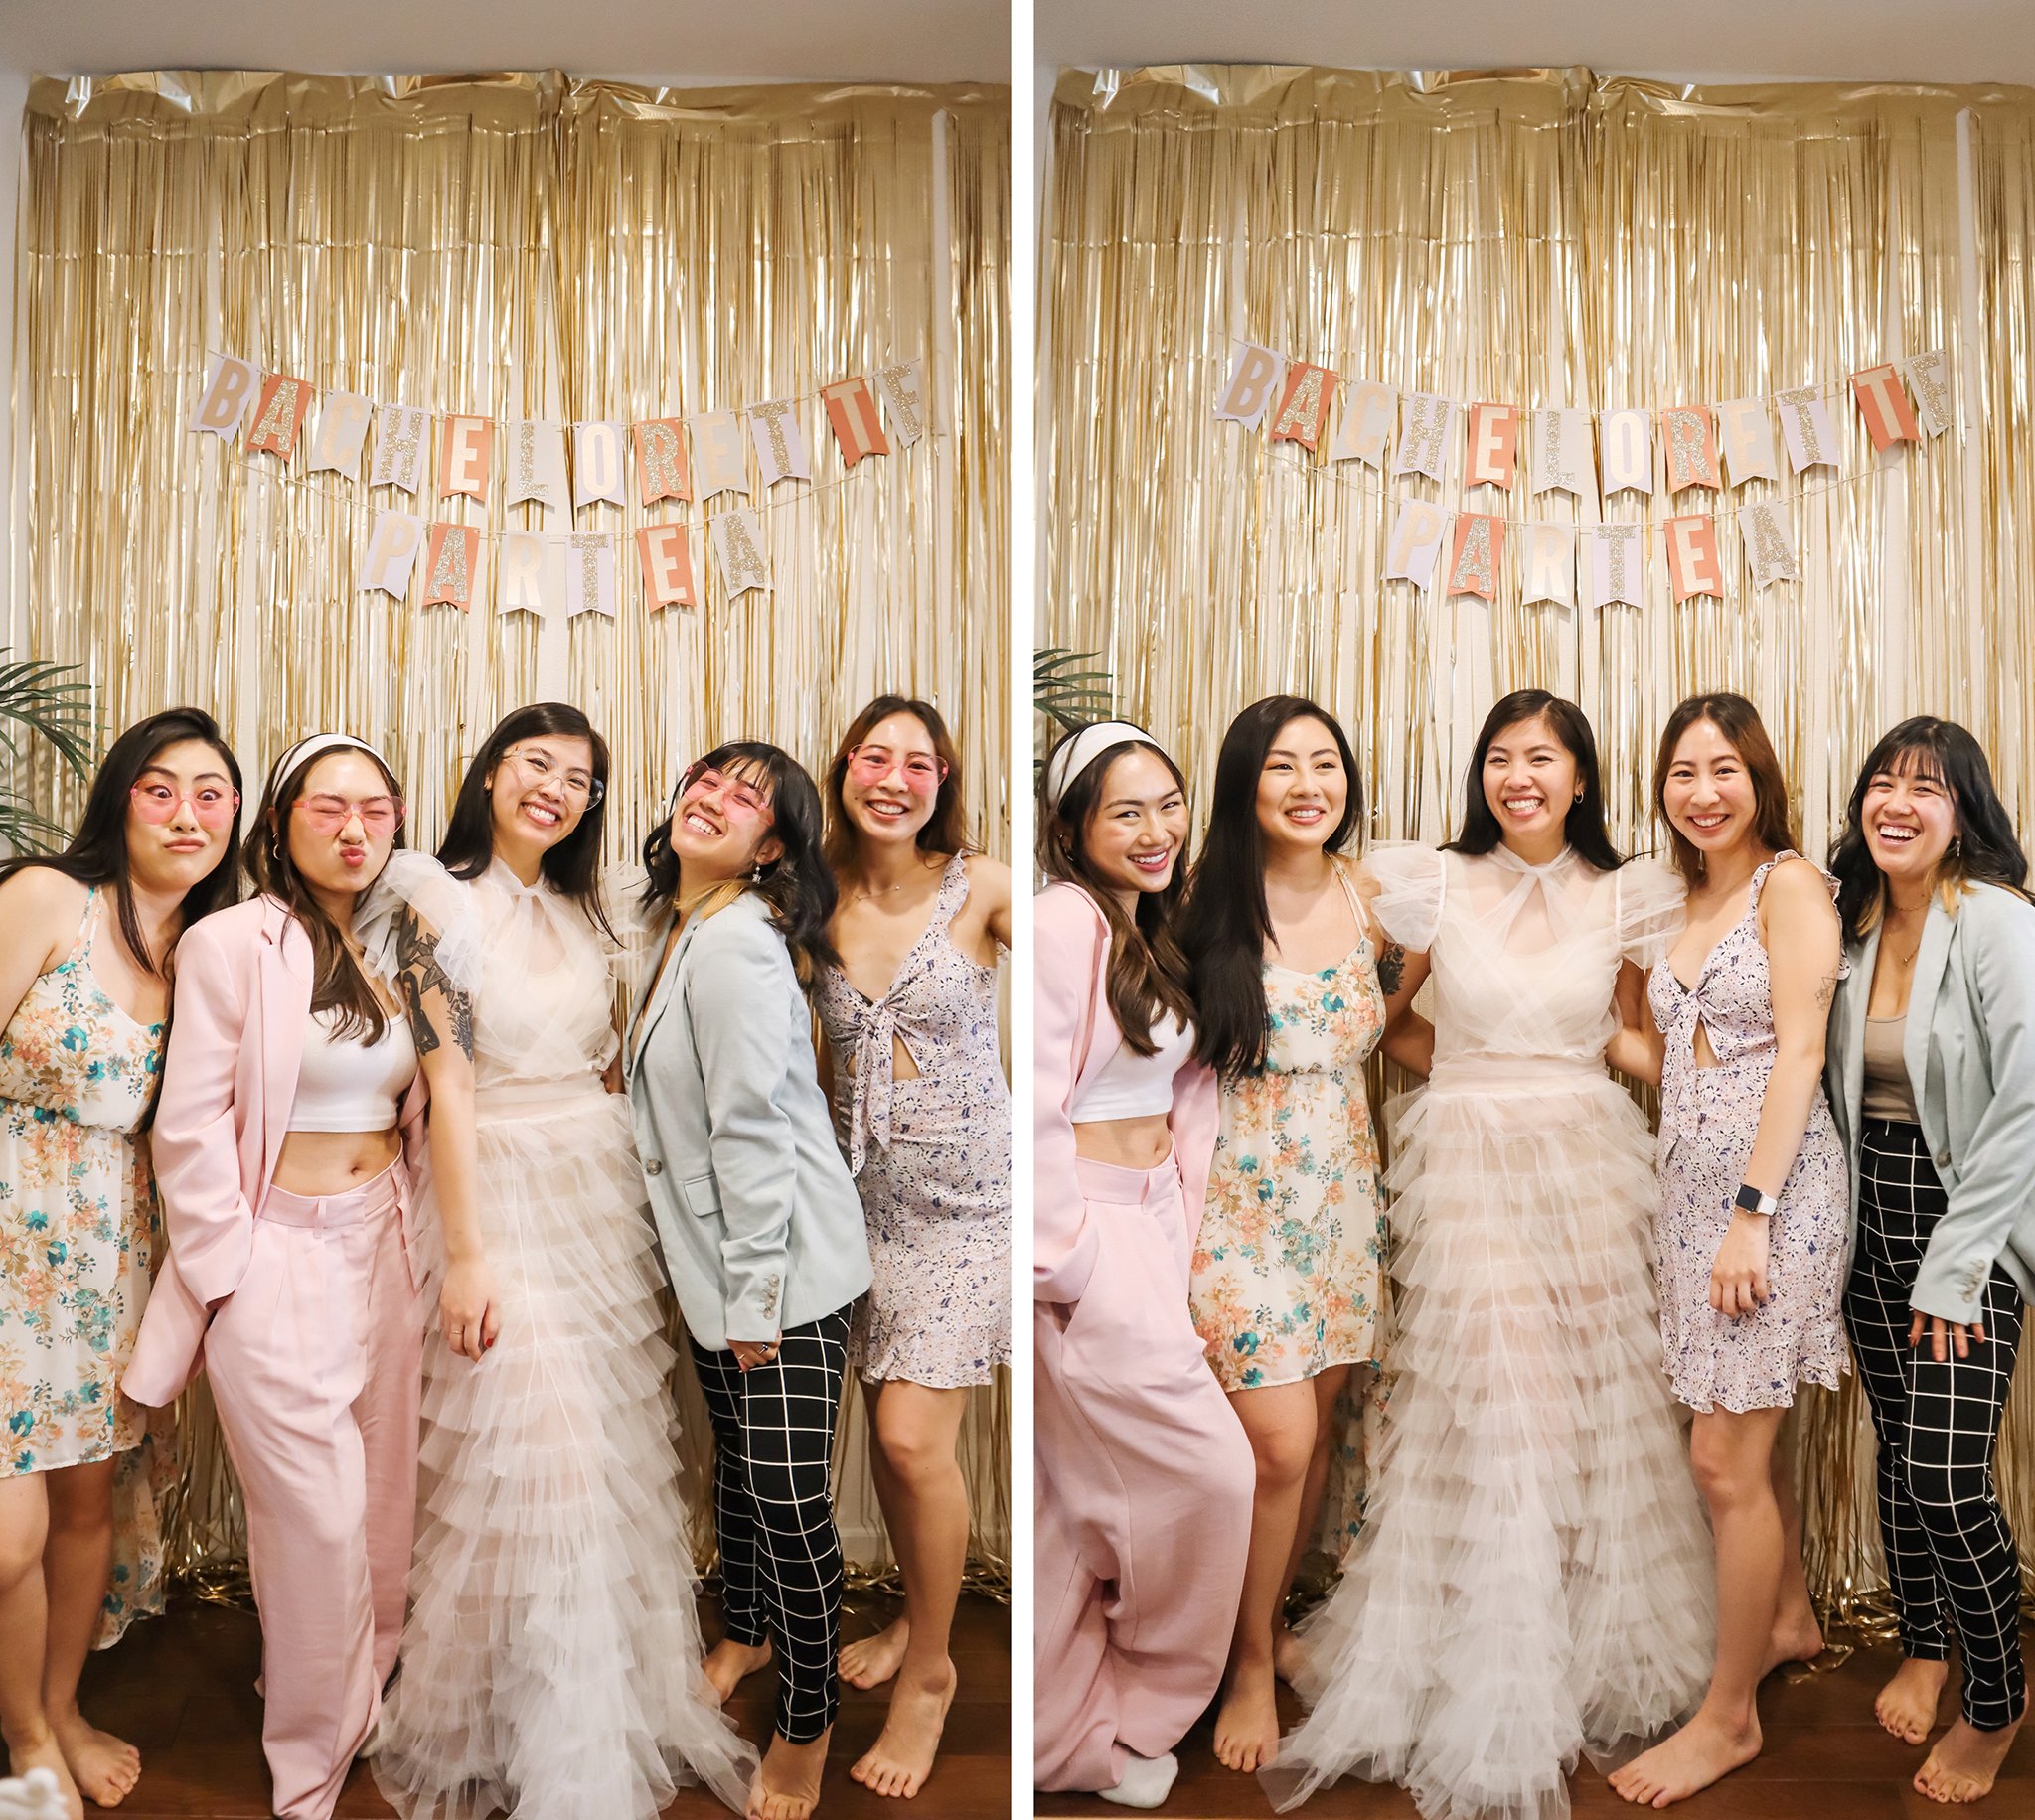
We all went home to get freshened up, and then I had the girls over for afternoon tea. I’ve never had a tea party before, so I had to make it happen! All of the tableware are things that I’ve collected from Poshmark, Home Goods, and other random shops. For the decor, my Maid of Honor bought me a tassel garland and “SHE FOUND HER MAIN SQUEEZE” banner from Etsy. Since I couldn’t find another bachelorette banner that I was envisioning, I just used the one from my MoH as a stencil to DIY a “BACHELORETTE PARTEA” one.

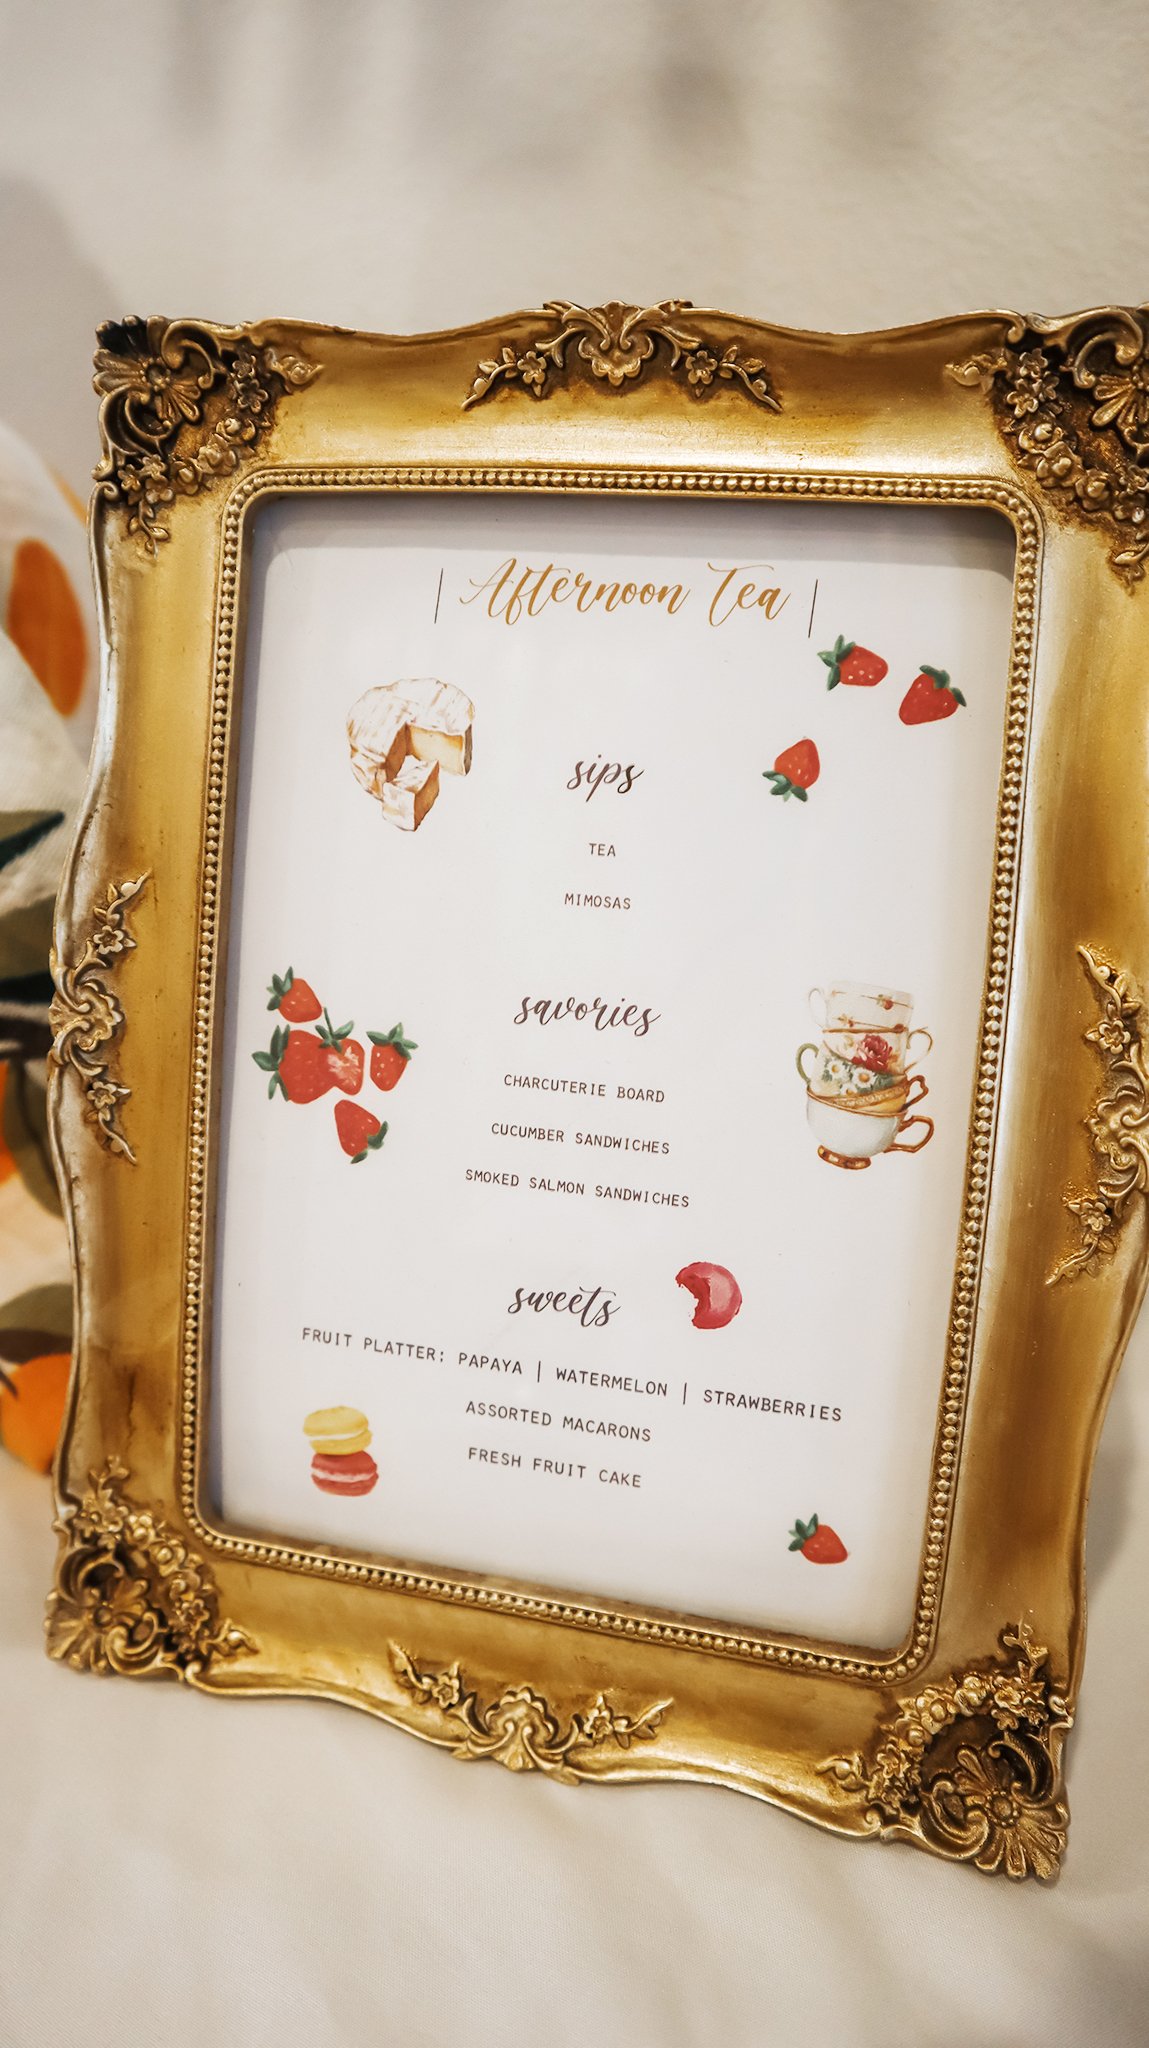
For the menu, we had…

For the rest of the night we just ate, drank, played games, and spilled lots and lots of tea.

+ private dance class | Rae Studios


+ “SHE FOUND HER MAIN SQUEEZE” banner | Etsy (currently unavailable)


+ “BACHELORETTE PARTEA” banner | DIY


+ tassel garland | Etsy


+ gold foil curtain | Amazon


+ arch | Wayfair


+ short sets | Free Birdees


+ dress | Kiki Riki (Poshmark)


xx

Dana
SAVE THE DATES

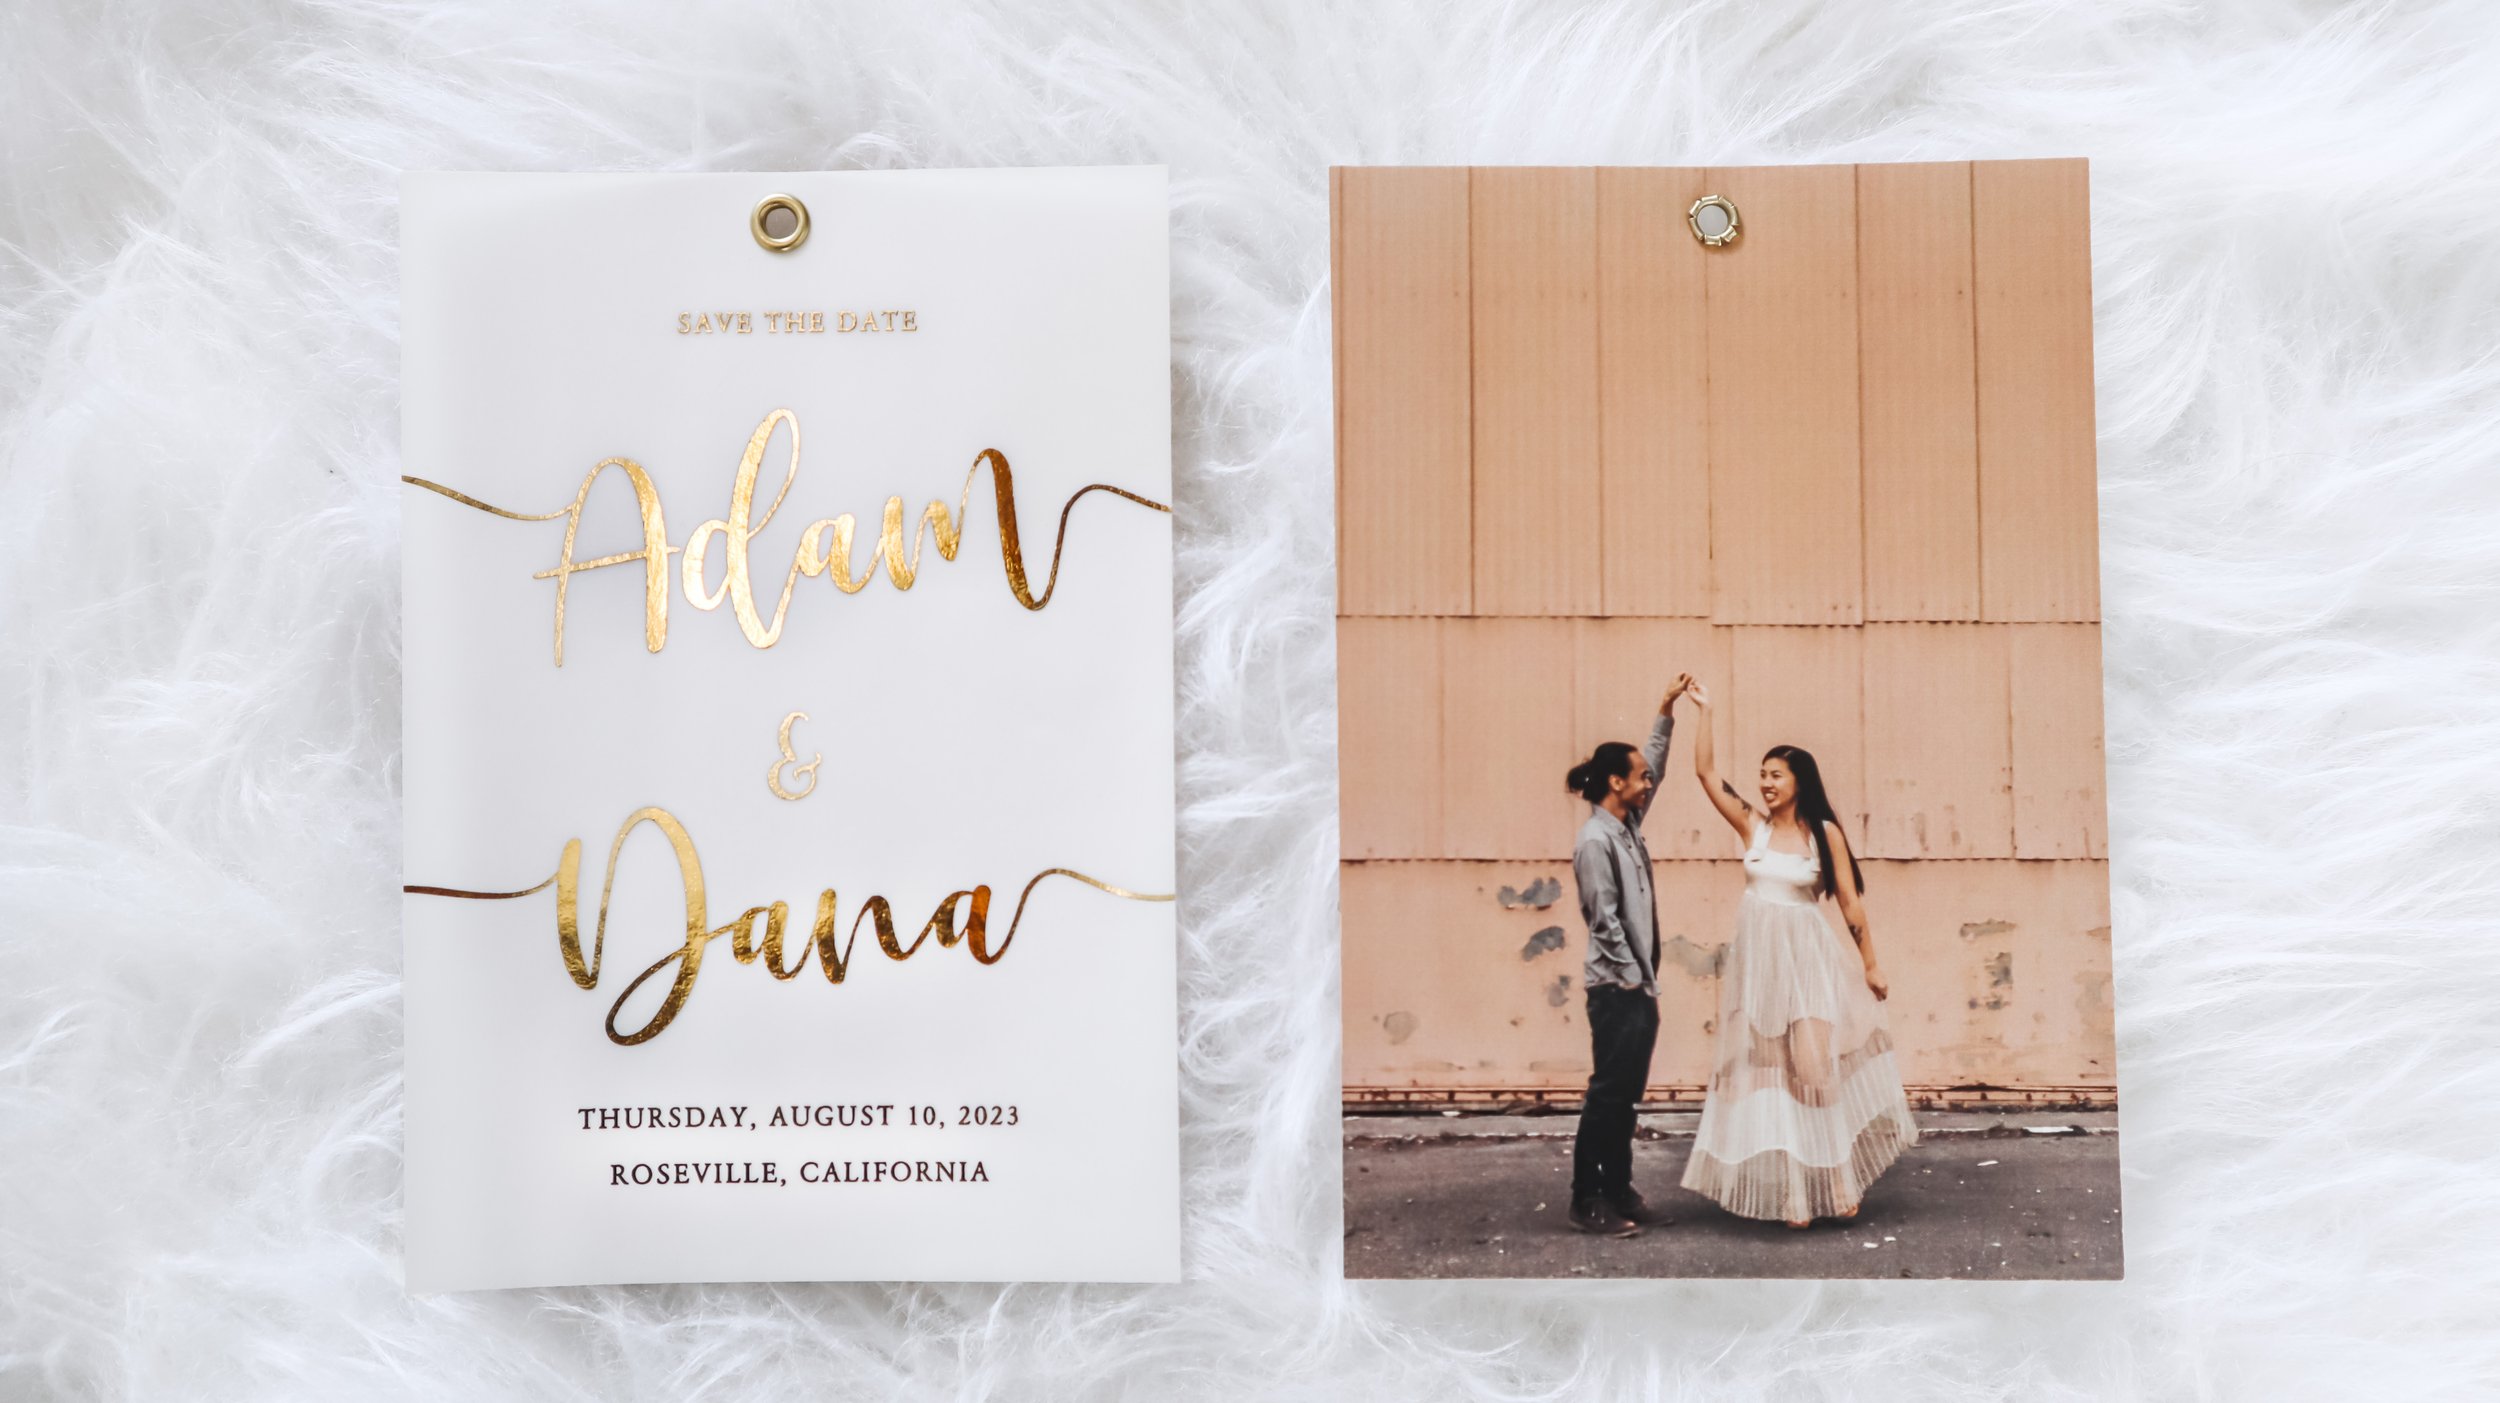
My fiance and I decided to save some time, money, and paper and do evites for the wedding, so I wanted to make our save the dates extra special. I always gravitated towards the gold foiled vellum that I saw on Pinterest. The design is very elegant, yet simple and straightforward, so I knew this was the style I wanted. 

After clicking through a shit ton of websites, this Etsy package was the most affordable option I found with the font and format that I liked. It also includes a choice of different colored envelopes, so we went with gray. We needed less than 60 cards, but we ordered 80 just in case. 

Everyone always attaches the vellum on top of their photograph, but we requested for it to be on the back, so that our photograph is clearly visible. I love vellum designs, but I always thought it was strange to have the photograph covered with hazy text. 

Metallic wax seals are extra embellishments that I was always drawn to. For the true old-fashioned experience, I wanted to buy wax and a custom monogrammed stamp, but I figured that we’d rarely use them again. Since we’re only mailing save the dates to a small group of people, it made more sense to buy these wax seal stickers. We still got to customize our monogram, so I designed ours using a free font from DaFont, called “Chopin Script”.

We’re lucky in that we live close enough to most of our friends and family to hand them our save the dates in person. There’s roughly 20 people that we need to mail to, so I only went all out and wrote amateur calligraphy for those few. There’s really no point in including envelopes for everyone else, especially if they’ll likely get tossed. For the calligraphy, I tried my best to imitate another font, from DaFont, called “Nathalia”.  

+ save the dates | Etsy

$151.81 for 80 cards / envelopes ($1.90 ea)

+ wax seal stickers | Stamptitude

$48 for 25 ($1.92 ea)

+ stamps | USPS

$12 for 20 ($1.67 ea)  

+ ring boxes | Etsy

$53.50 ($26.75 ea) 

+ his wedding band | Revolution Jewelry

$657


+ her engagement ring | Loop Jewelry

$795


+ her wedding band | Etsy

$402.40

+ engagement photography | Katie Clare Photography

We hired Katie to shoot our wedding, but most of her

wedding packages also include an engagement

session. This is one of the many reasons why we

chose her over all of the other photographers that I

found.

SAVE THE DATES TOTAL = $211.81

xx

Dana

DIY BRIDESMAID BOXES

This was a really fun project for me, since I love planning, crafting, decorating, branding and packaging. I wanted this unboxing to be a special and memorable moment for my bridesmaids, so I tried to personalize everything as much as possible. I know that starting the wedding planning process can be daunting for most people, so here are some creative and affordable ideas that can hopefully inspire you.

What’s inside the box?

1. polaroid pictures | $5.32

If you download Shutterfly’s mobile app, you can get unlimited prints. All you have to do is pay $5.32 for shipping. Since I’m always taking pictures, I thought this would be a cute way to reflect on some of the fun moments we all had together.


2. mini bottles | $14.48

Most people like to celebrate with champagne, but not all of my girls can drink. I bought sparkling apple cider from Dollar Tree, for those who are sober, and champagne from BevMo!, for those who like to get tipsy.


3. hair ties | $10.72

Not only are these useful, but they’re really cheap and easy to make. Most Etsy shops that specialize in elastic ribbon, have lots of colors to choose from. Just make sure that the description says “elastic” because they all look the same, and I accidentally bought non-elastic ones before. I chose the ⅜” width, and 1 yard per color is enough to make 4 hair ties. I just cut them into 9” pieces and then knotted them at the end. I then cut construction paper into 4” x 3 ¼” pieces to hold the hair ties in place.

4. candles | $36

I bought these lovely candles from a female Black-owned business called KSM Candle Co. They have such a wide selection of handmade soy candles and a long list of descriptions for each scent. It was really hard to narrow down my choices, but the ones that I bought were Mojito, Citronella, Sunny & Mellow and Black Currant Tea.

5. matchboxes | $11

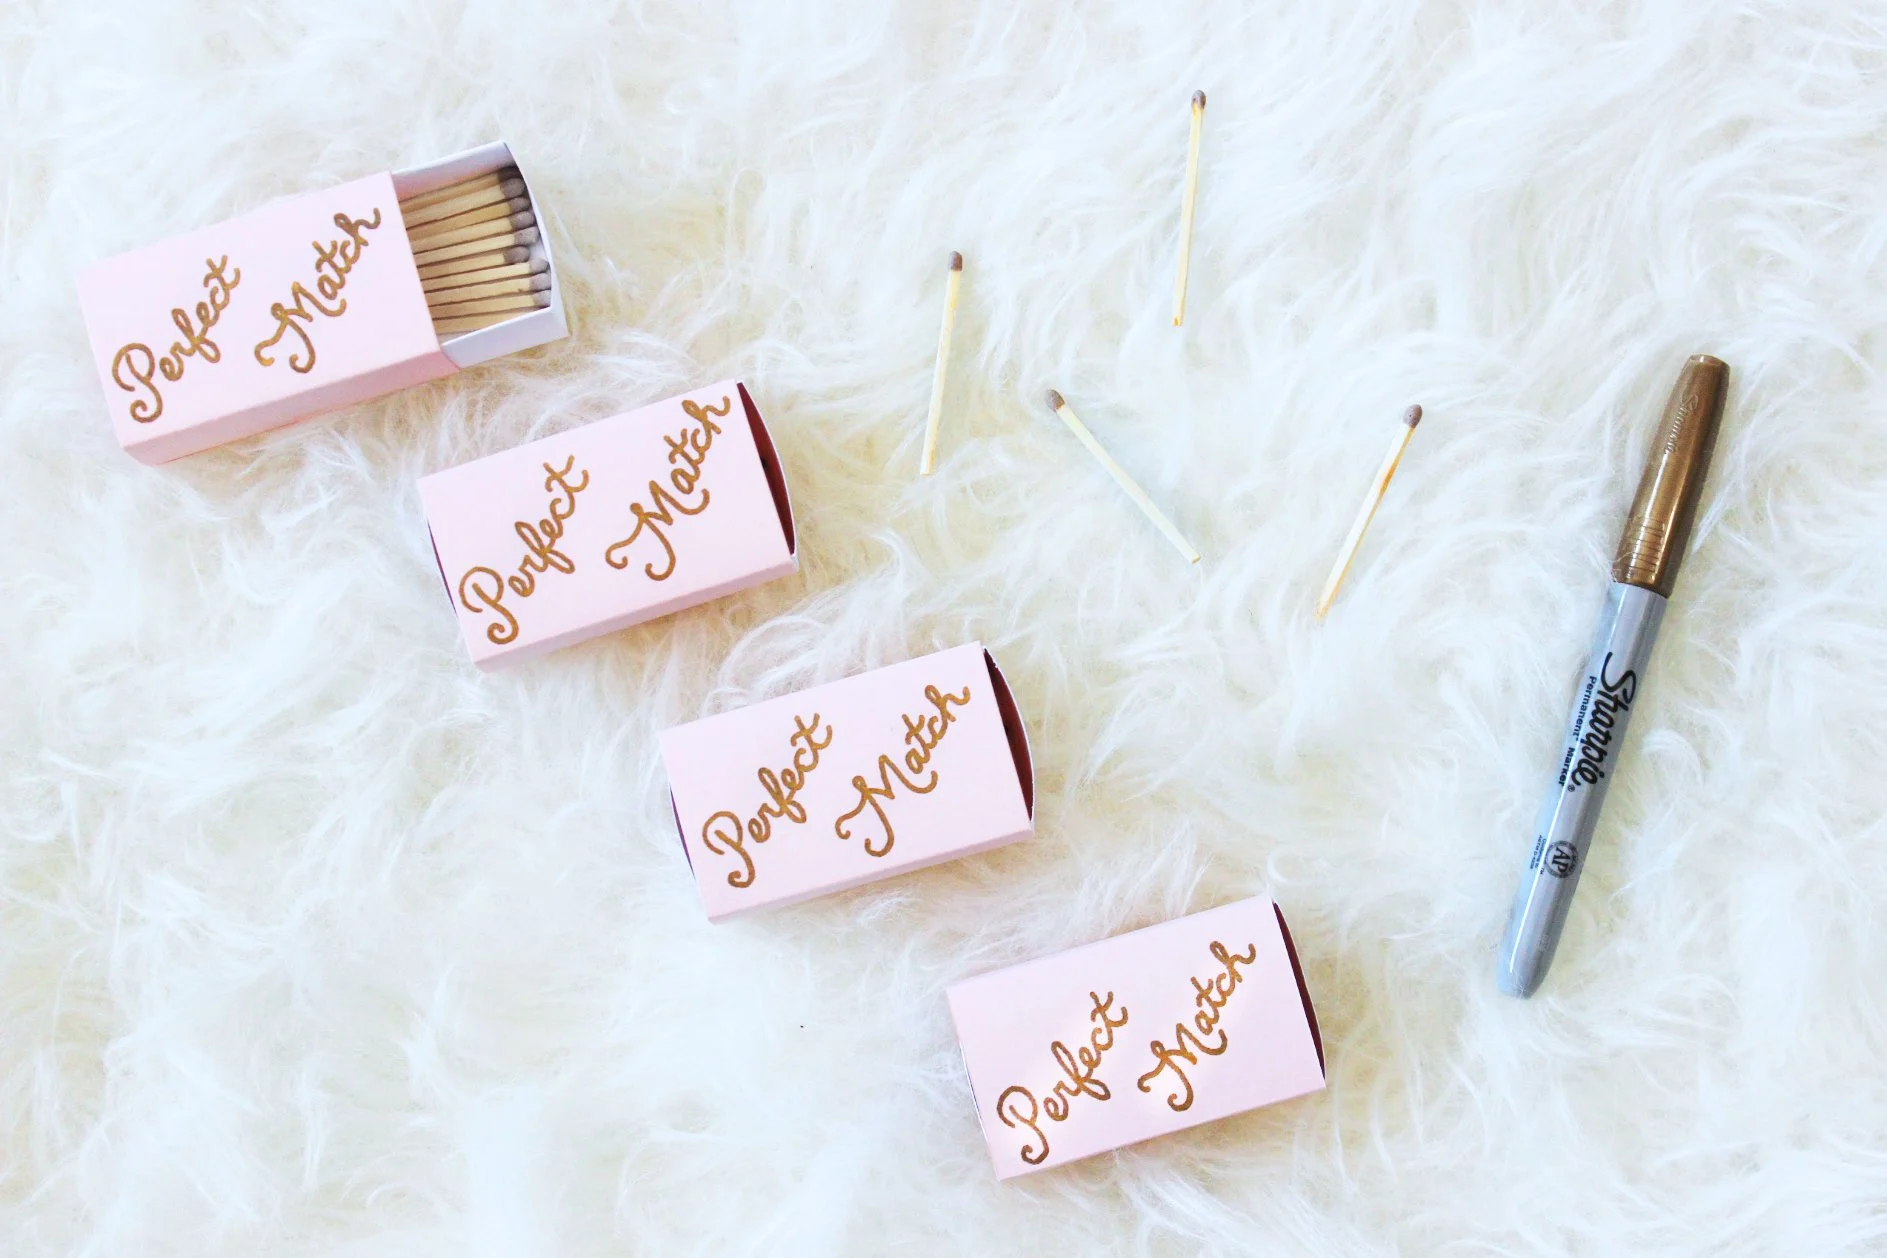
What’s the use of candles without some spark? I actually bought the matchsticks and matchboxes separately on Etsy, since I couldn’t find the plain pink boxes that I wanted. This method was significantly cheaper, since most of the matchbox packages I saw required customization or large order quantities.

6. paper lipsticks | $7.44

This is a beautiful Valentine’s Day DIY that I stumbled upon on Pinterest. Instead of typing “Will you be my Valentine?”, I just changed it to “Will you be my bridesmaid?” I am a huge lipstick lover, so I thought this would be a fitting way to pop my question. I bought all of the construction paper from Michaels, since they have a wide assortment of colors and textures to choose from.

How did you package it?

+ boxes | Etsy

$6.53

+ ribbon | JOANN 

$9.98

+ shredded paper | Paper Source

$3.99

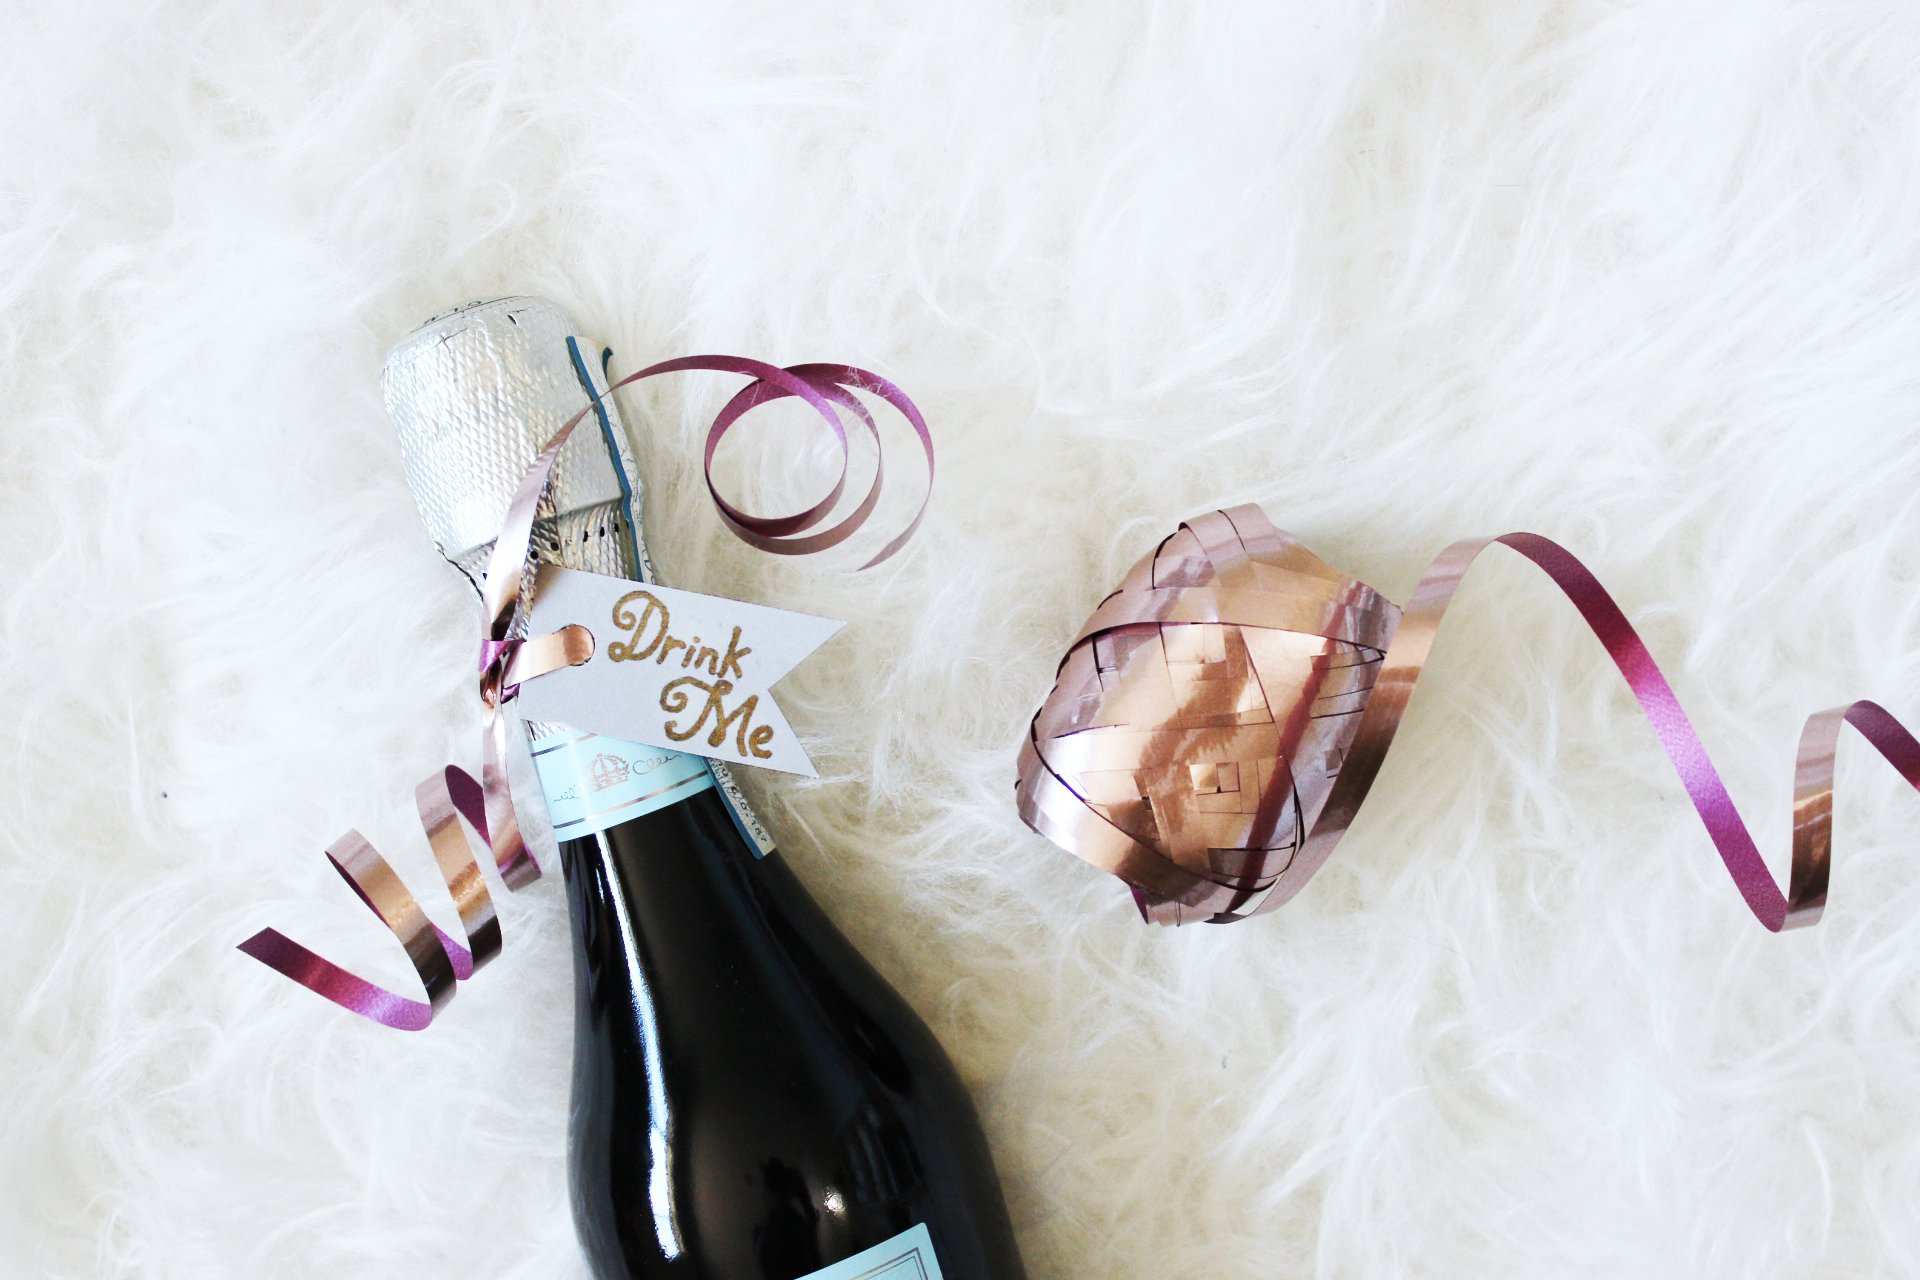
+ tags | I DIYed all of my tags, but if you want to save time, you can buy them in bulk. I cut the name tags into

2 ¾” x 1 ⅝” pieces and the “Drink Me” tags into 1 ¾” x ⅞”  pieces. 

$0


The total was roughly $100, and including taxes and shipping, it cost about $30 to arrange each box. 


xx

Dana