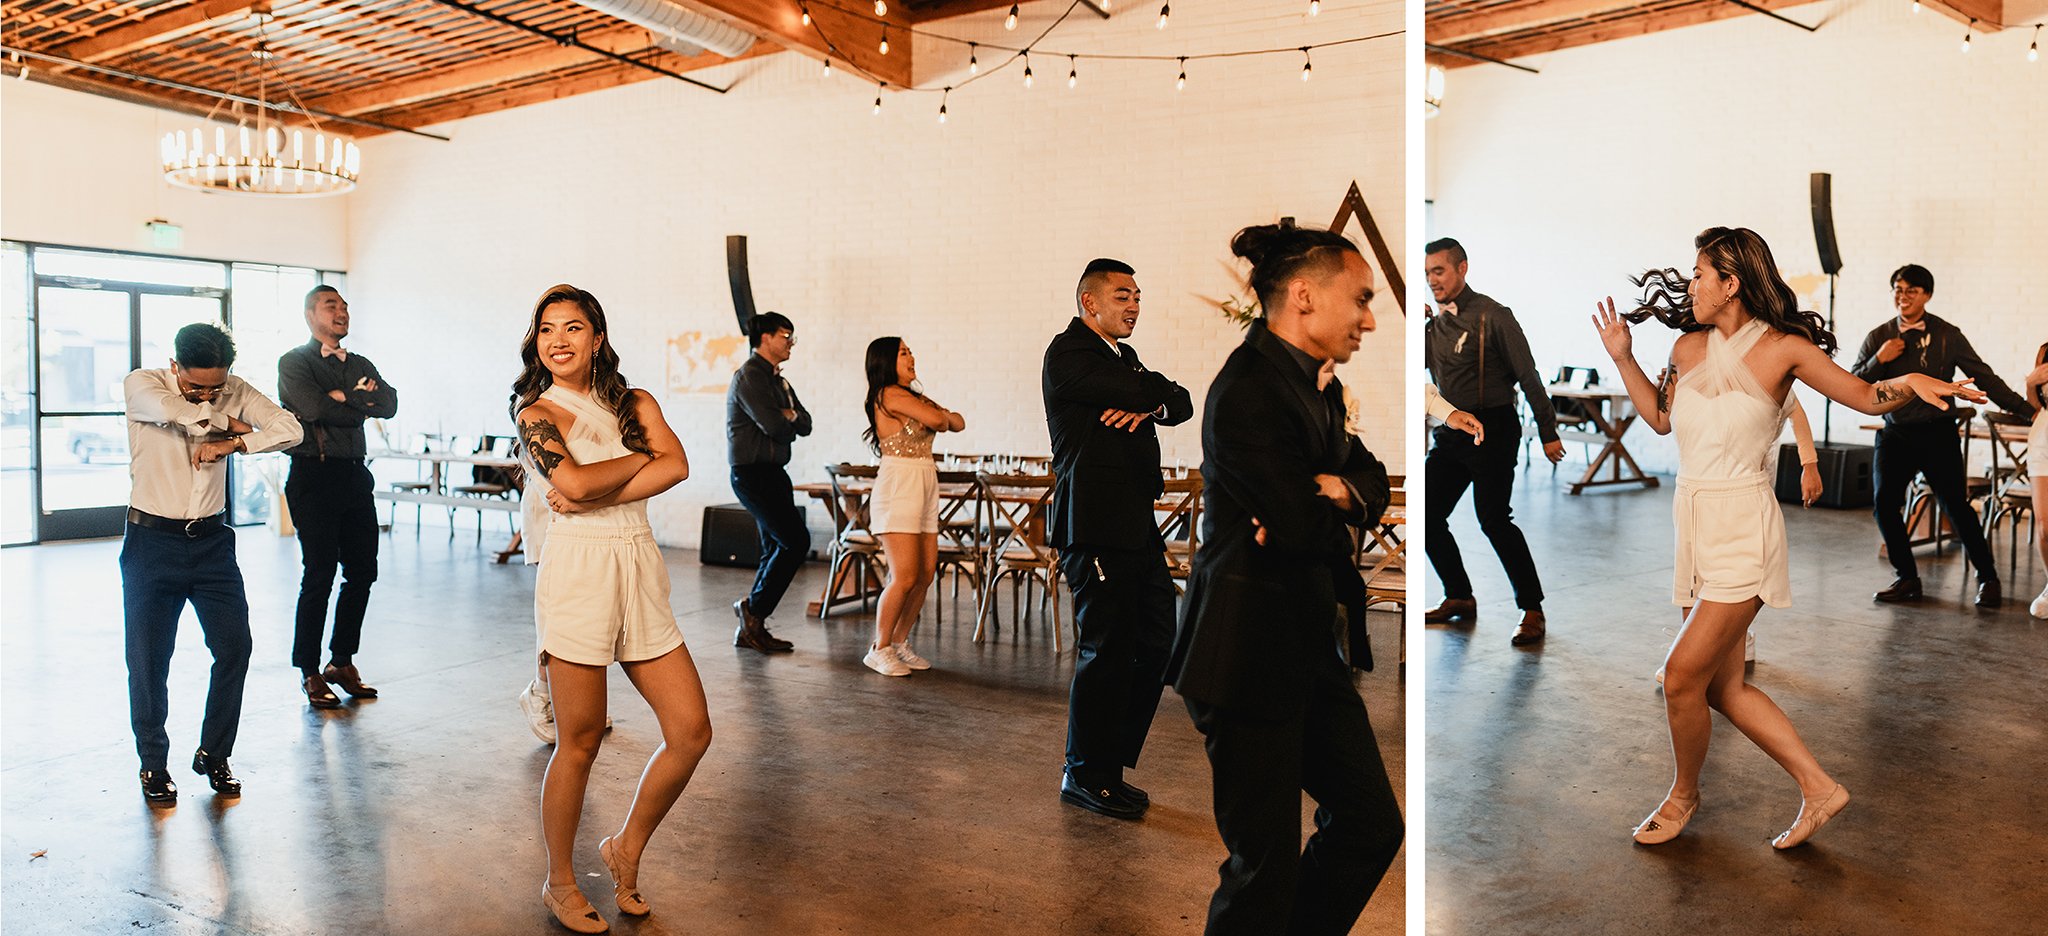
These are my old ballet shoes, from high school, that I just added studs to.
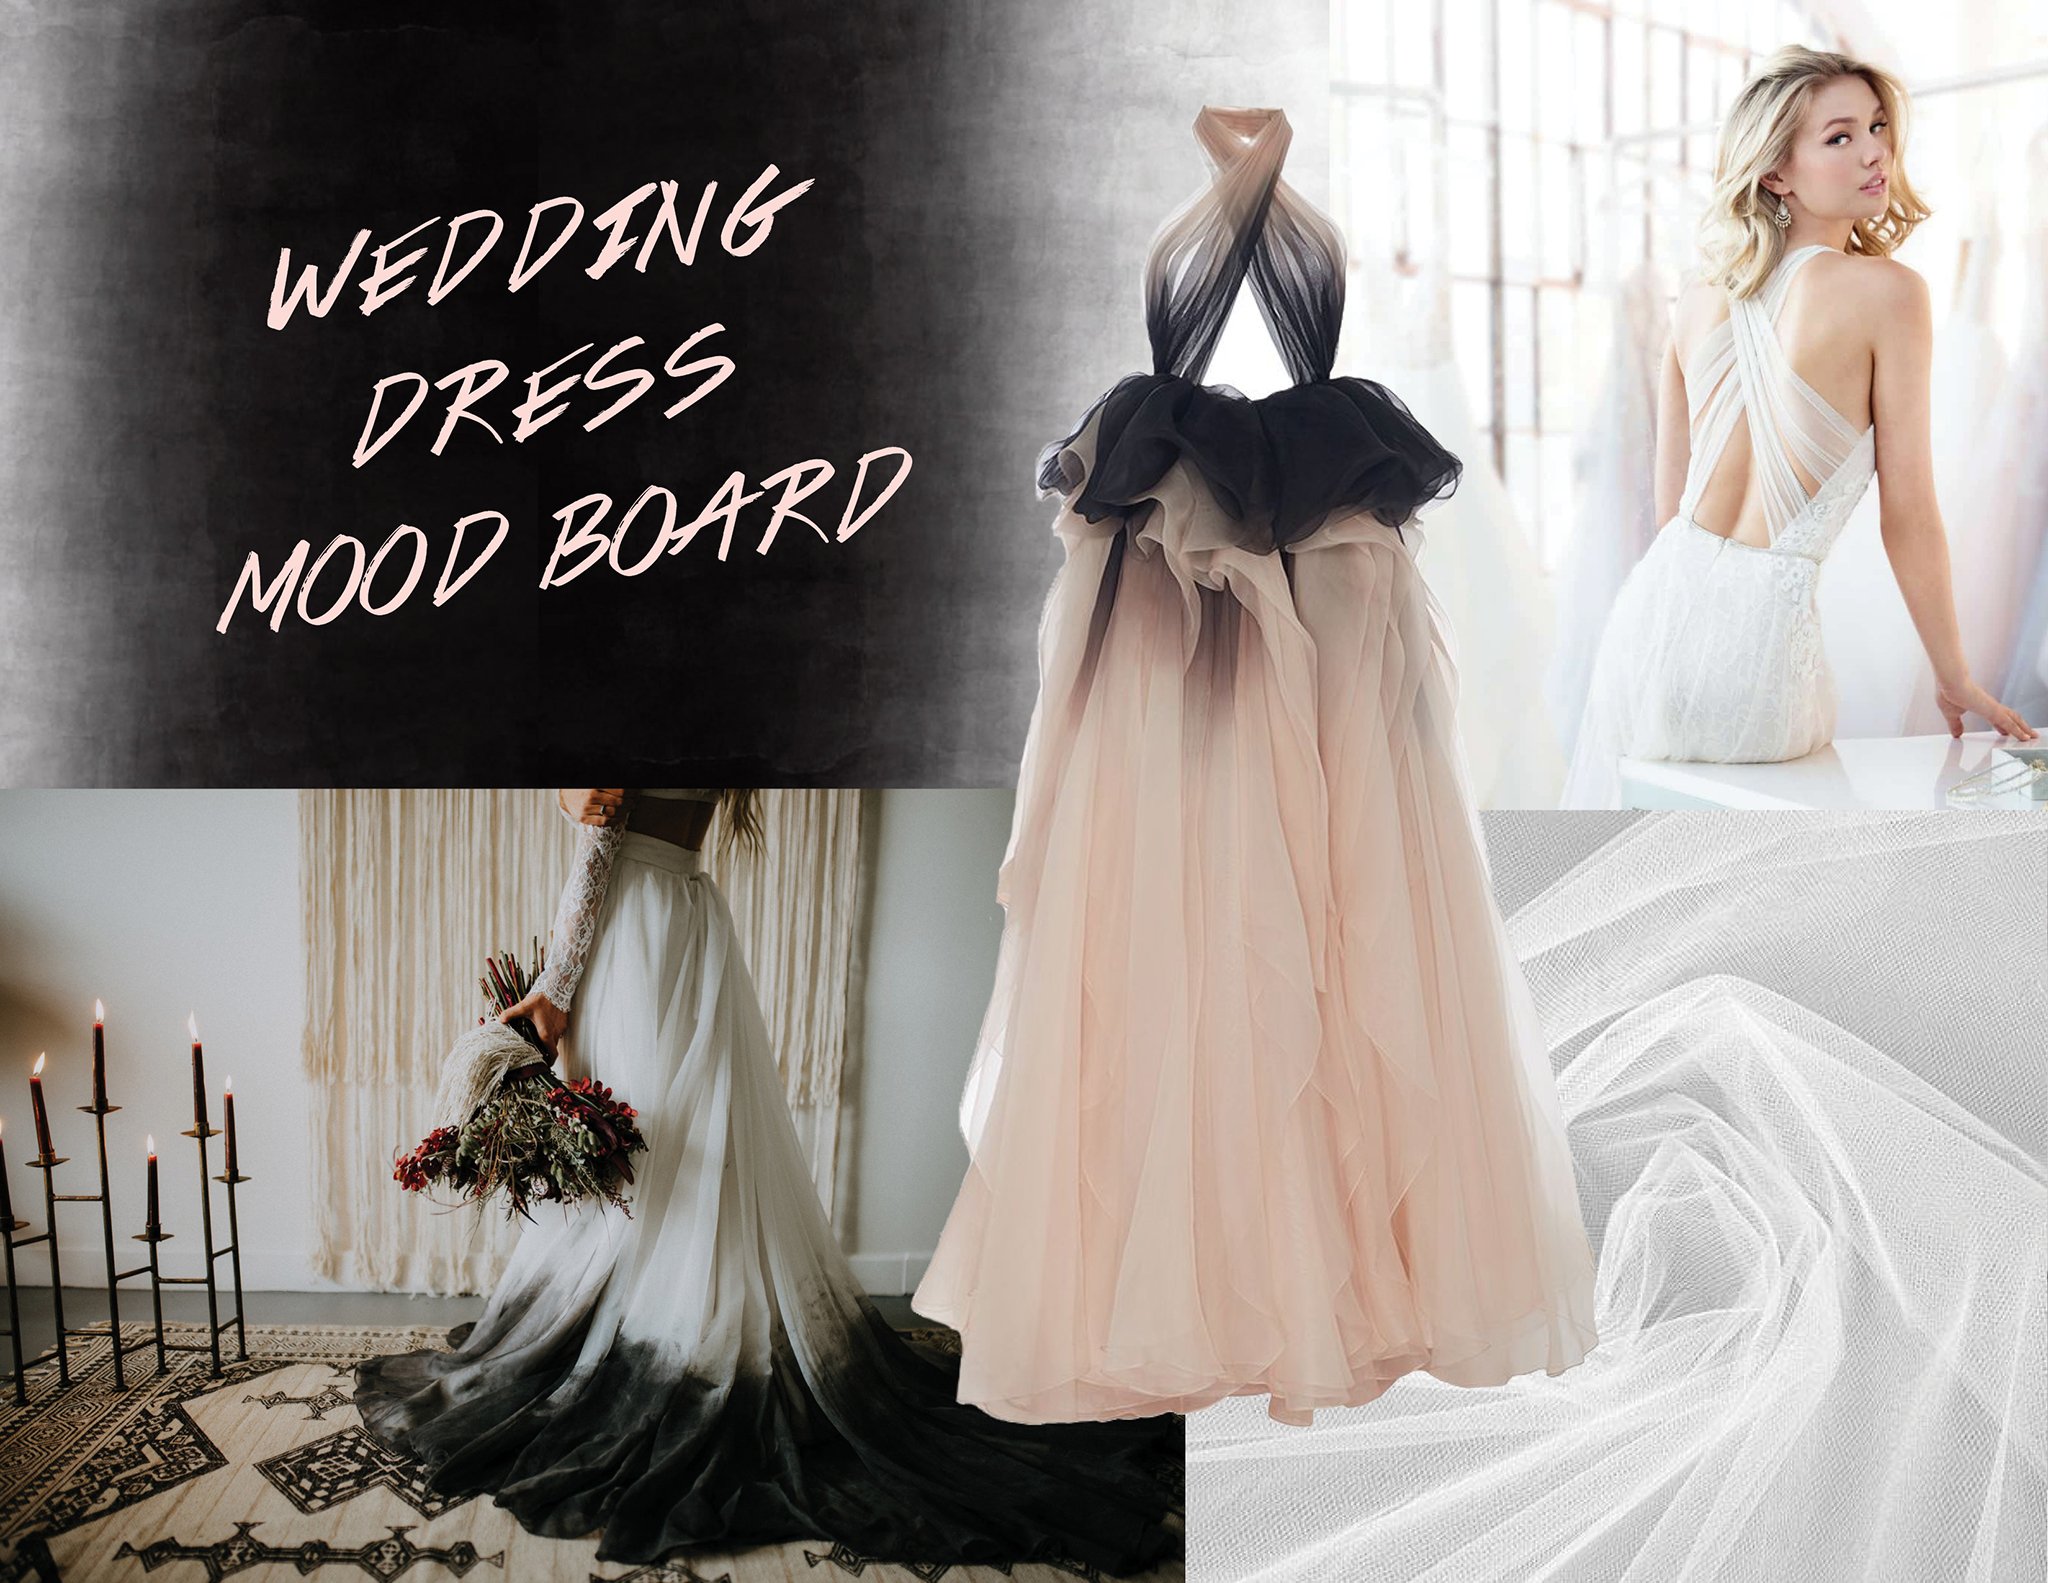
I came across this Marchesa dress years before I was engaged. It’s not a wedding dress, but I was so obsessed with the style. I adore Marchesa designs because of their light and airy materials, draping, and construction. Most of their evening gowns look like art pieces, since they’re heavily inspired by origami prints and shapes.
Once I got engaged several years later, my mind didn’t budge. This still remained my main wedding dress inspiration, but I made many adjustments to mold it into exactly what I wanted. After brainstorming my vision, I began researching the process.
STEP I | READY-TO-WEAR OR CUSTOM DESIGN? | 1.5 YEARS AWAY
Trying to find the wedding dress I was envisioning was a fail, so I figured it would be easiest and cheapest to split it into a top and skirt. There was an Etsy shop that could do black ombre, but after they sent me a video of their spray painting method, I realized that I could DIY it at a significantly lower cost.
The first piece I bought was a white tulle skirt from a Ukrainian Etsy shop for $92.69. They have a wide variety of colors to choose from, and they custom make each one, based on the length and waist size that you want.
I then browsed for a white top similar to my inspirations, but had no luck, so that’s when I turned to custom designing.
STEP II | DESIGN SKETCH | 1 YEAR AWAY
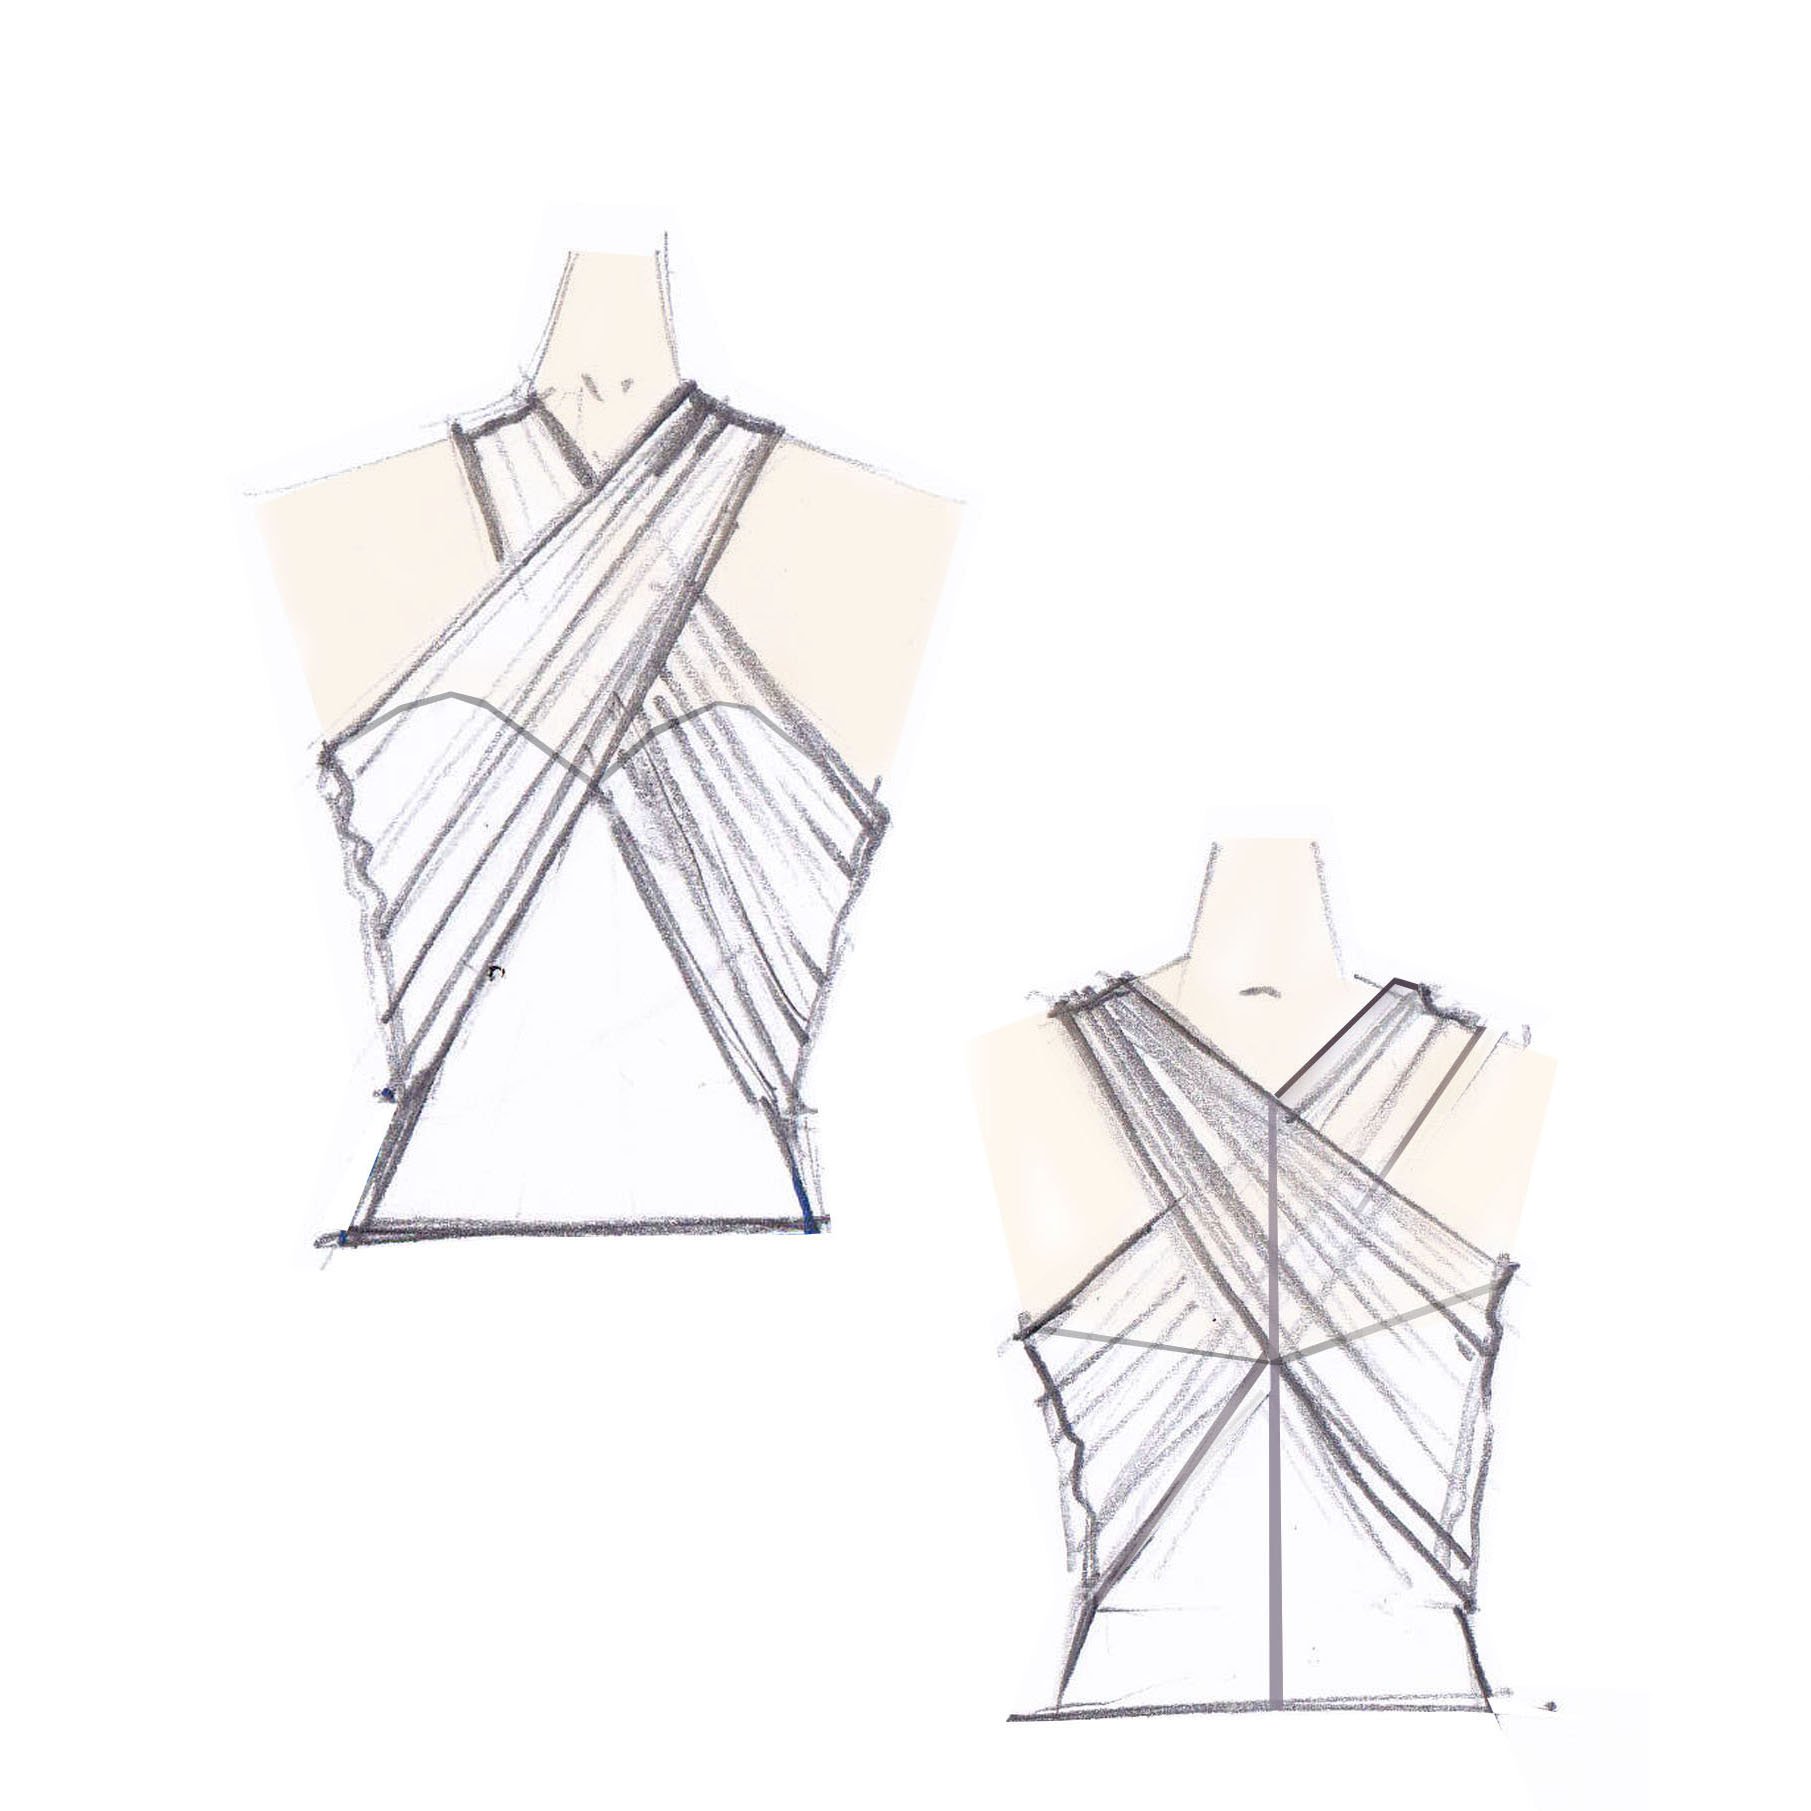
I found a bridal shop, called Connie Tao Designs, that could custom make my top and dip dye my skirt, but communicating with them was extremely frustrating. Over the span of eight months, they didn’t design shit, aside from giving me this half-assed sketch that I had to repeatedly ask for. Can’t relate to all of their five-star reviews…
Then over the holidays, my aunt showed me her wedding album and told me that she designed her accessories, wedding dress, reception dress, and bridesmaid dresses all by herself. Unaware of the terrible experience I had with Connie, she asked if I needed help with anything, and that’s when everything magically started coming together.
STEP III | SOURCE FABRIC | 6 MONTHS AWAY
We went to JOANN to find fabric that matched my skirt. The closest ones we could find happened to be on sale for $38.66. I also got extra fabric, so that I could test the spray paint later on.
STEP IV | DESIGN TOP | | 6 MONTHS AWAY
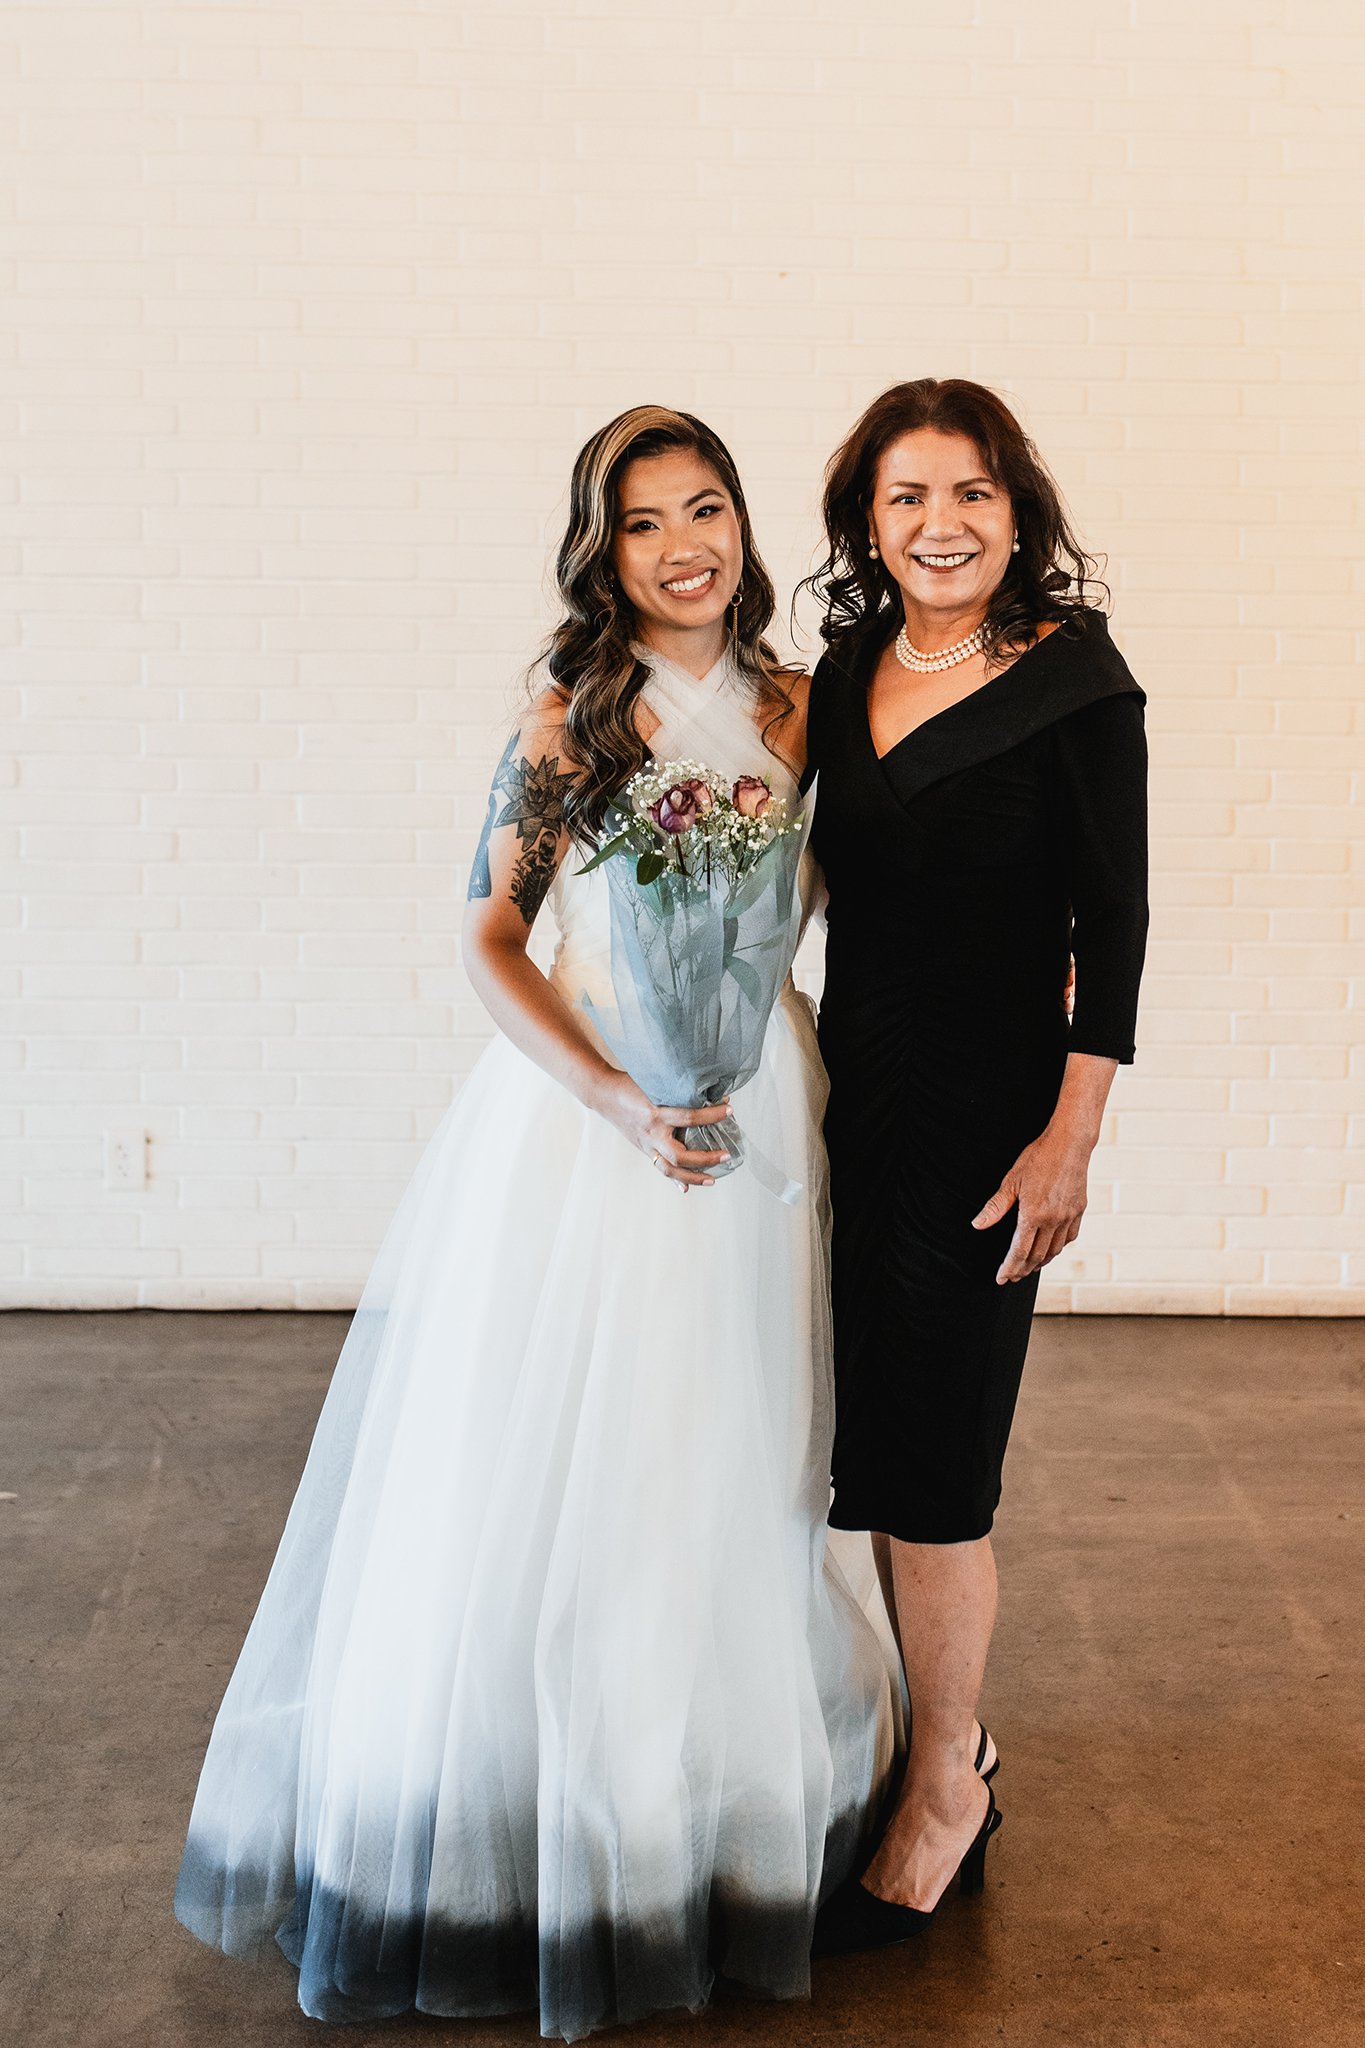
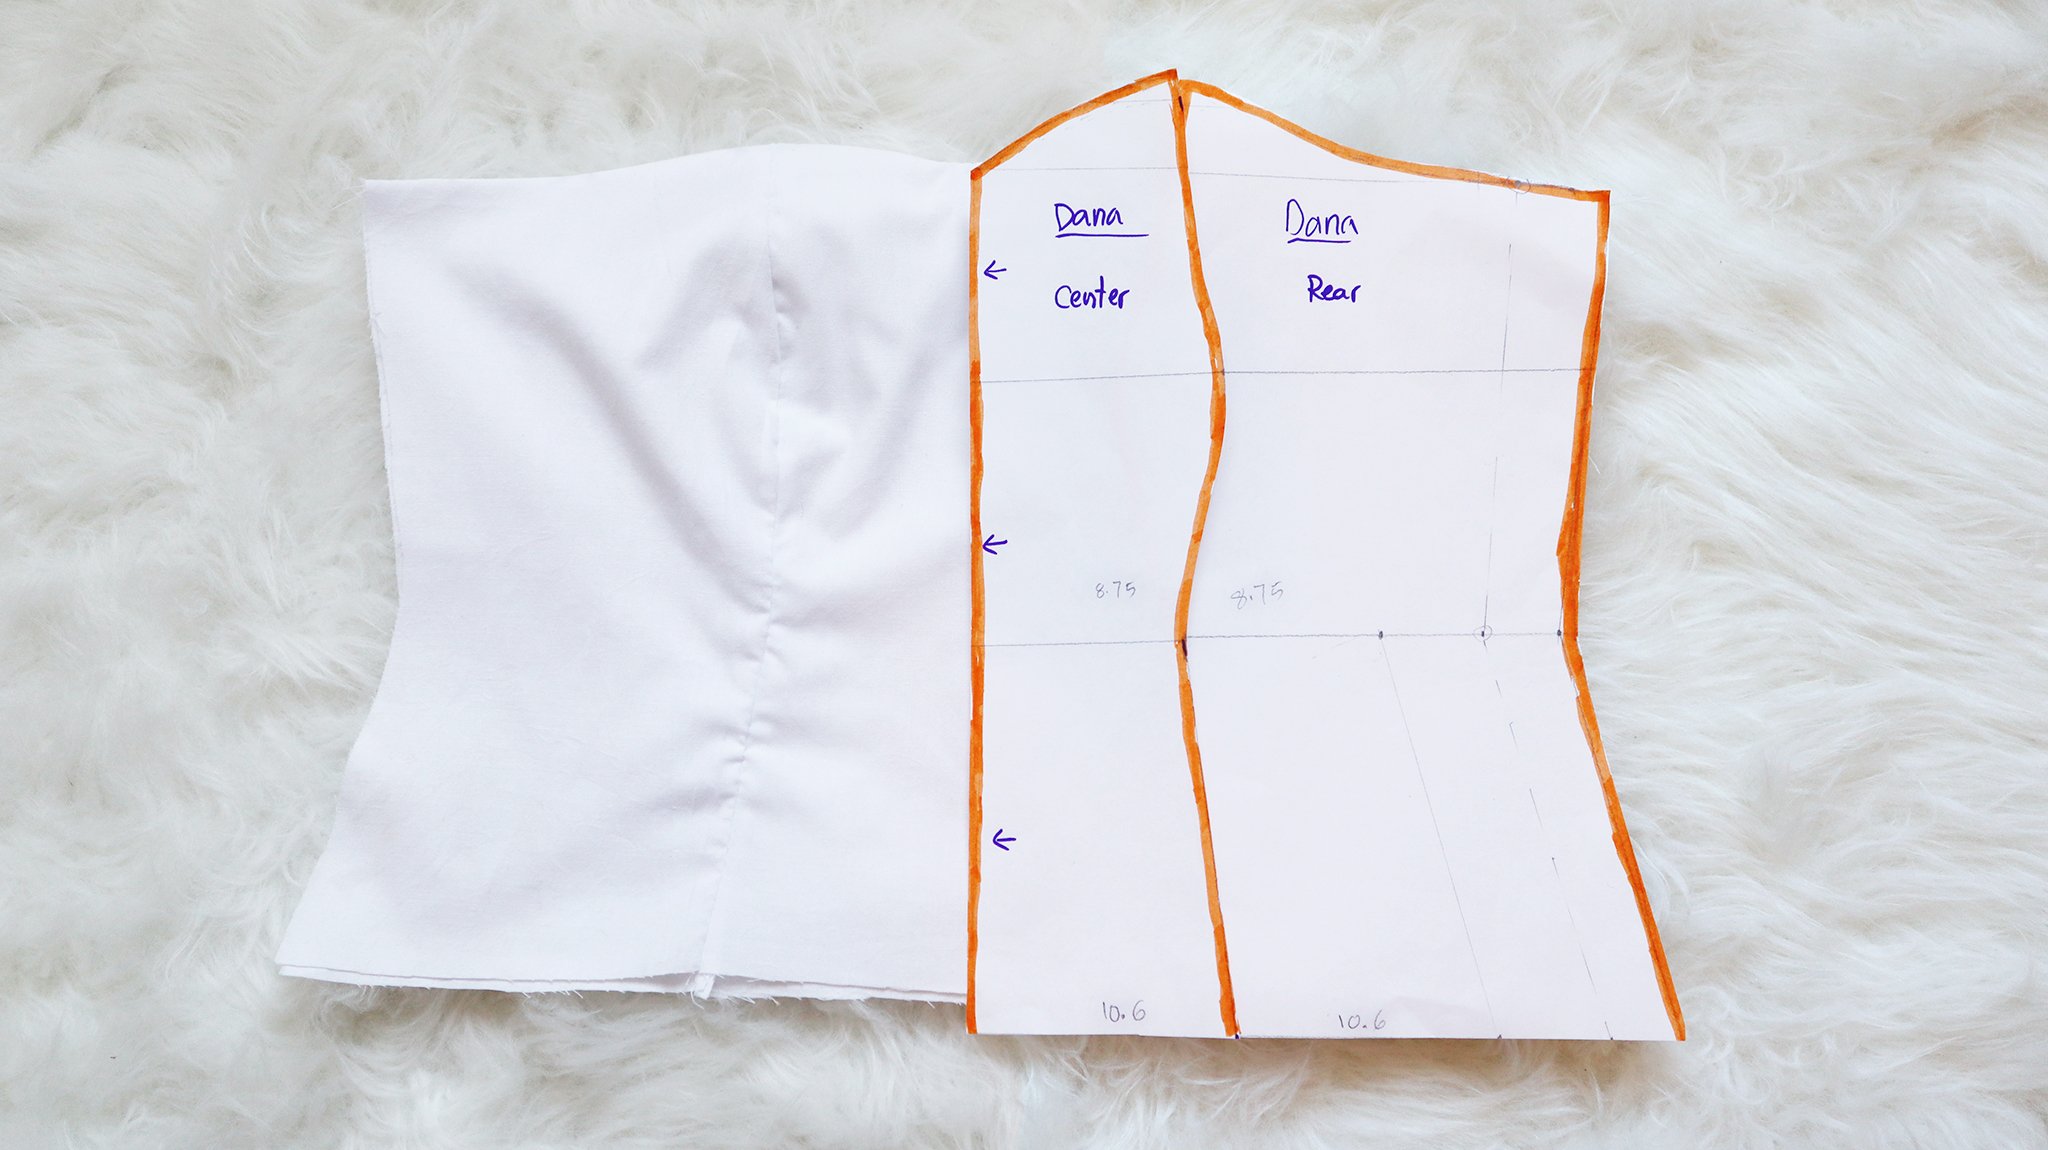
My aunt took all of my measurements to create a pattern from scratch. She then used it to cut and sew scrap fabric first. After double checking that the sample fit on me, she proceeded with the actual wedding dress fabric from JOANN. It took her just one day to complete most of my top, which was such a relief after dealing with Connie. My aunt is an incredibly generous, hardworking, and talented person, and I’m so grateful that she put in so much time and effort to help me.
STEP V | FINAL FITTING | 2 MONTHS AWAY
Once the design was finalized, we realized that I needed lots of fashion tape to hold the top to my body. This wouldn’t be an issue if it was a regular wedding dress, but because I split it into two pieces, the backless top didn’t have fabric along the bottom to anchor it. I had to buy fashion tape for the first time, which was a life changer. If only I knew about this hack before…
STEP VI | TEST SPRAY PAINT | 2 MONTHS AWAY
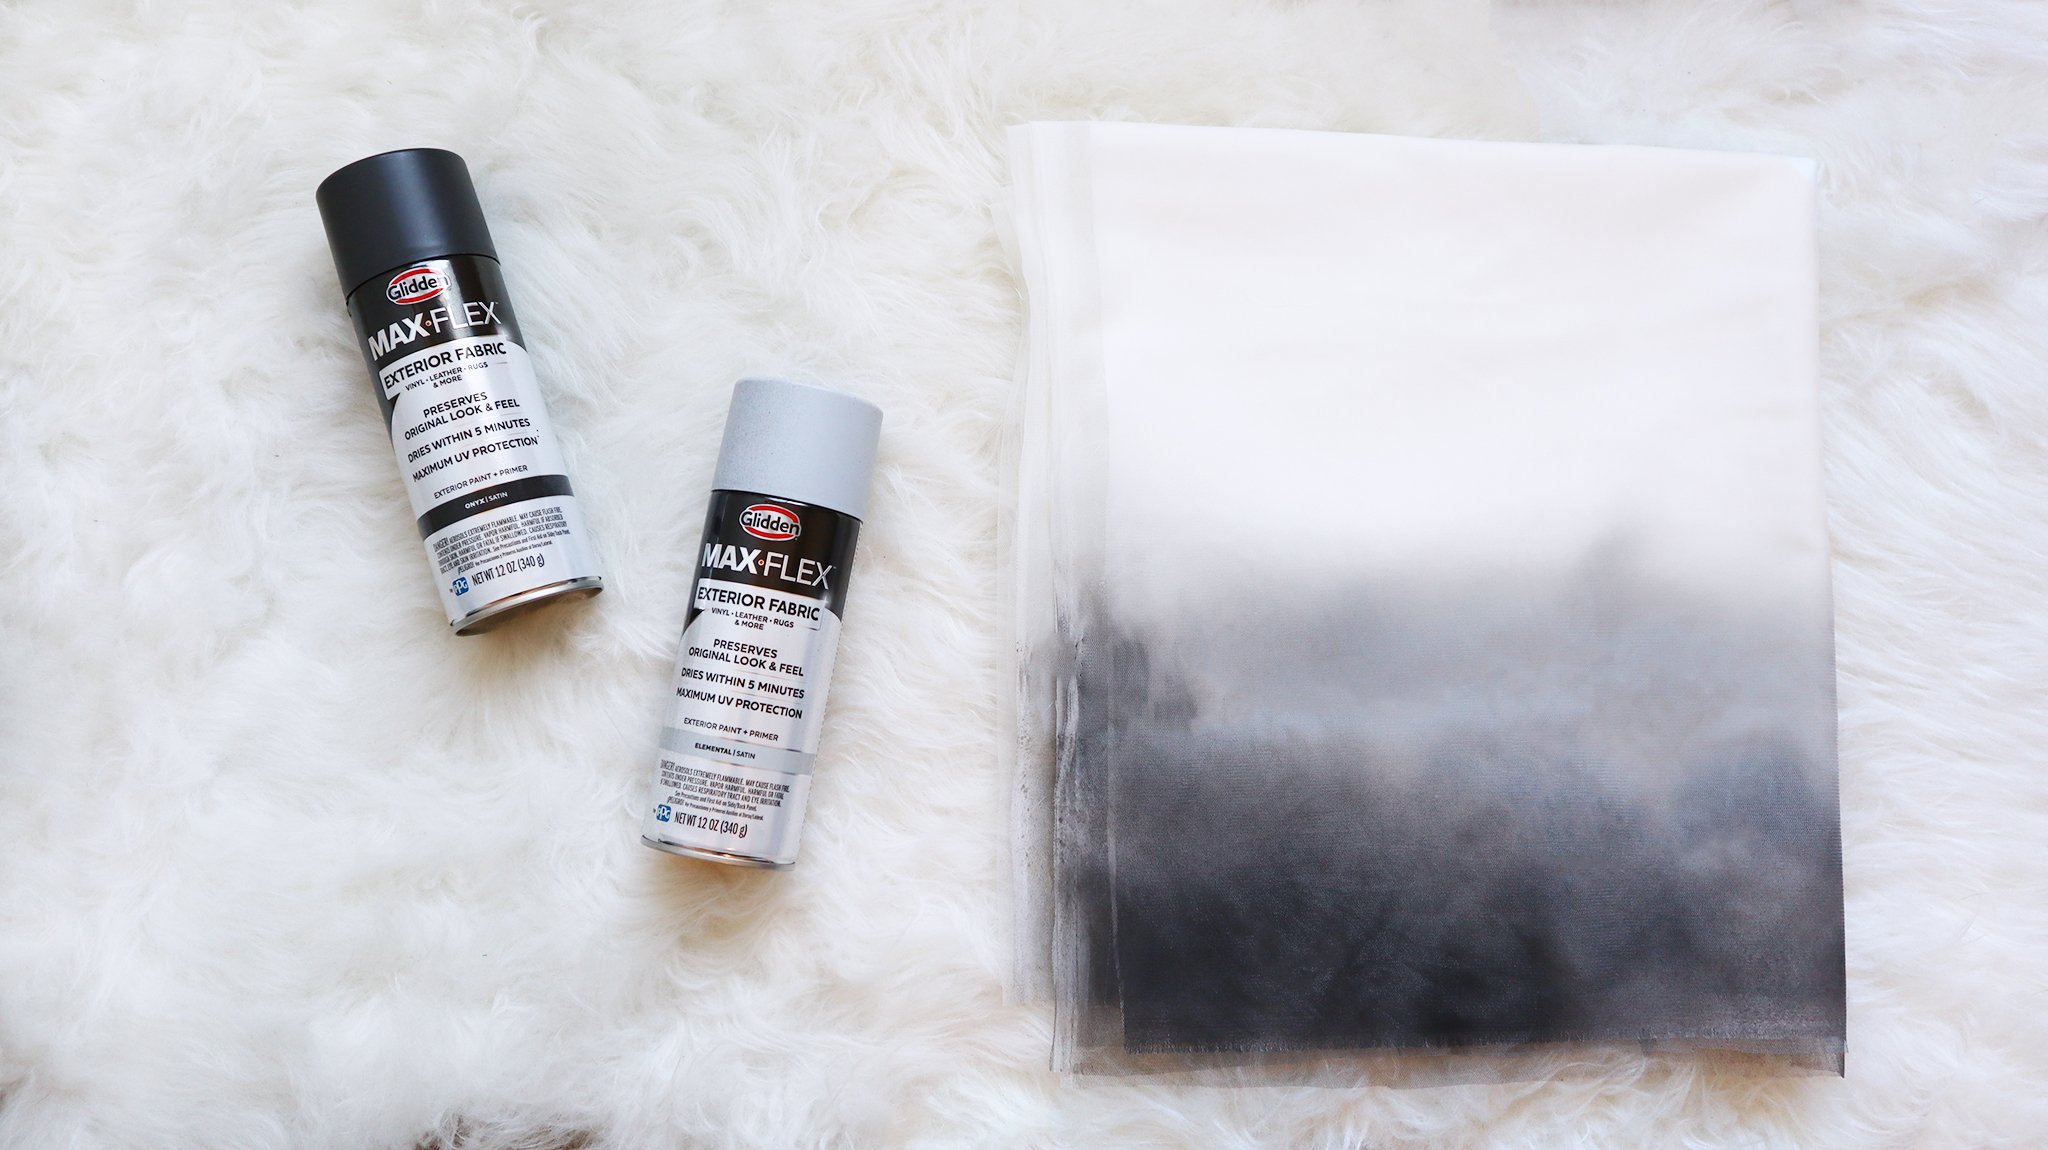
My skirt had three layers of tulle, so I cut the same amount of swatches from our leftover fabric to test the spray paint first. I bought black and gray cans from Home Depot to try to create an ombre effect. Glidden was the only brand I saw that carried these specific colors, while also being suitable for fabric. The black was perfect, but the gray was really light, so I had to spray three separate layers.
STEP VII | SPRAY PAINT SKIRT | 2 MONTHS AWAY
I hung my skirt in my aunt’s backyard and started with spraying black along the bottom. Then I sprayed all of the gray color, until it ran out. I had to spray a second layer of black, since the gray slightly faded the first layer. This entire process took about two hours, and the paint dried almost immediately.
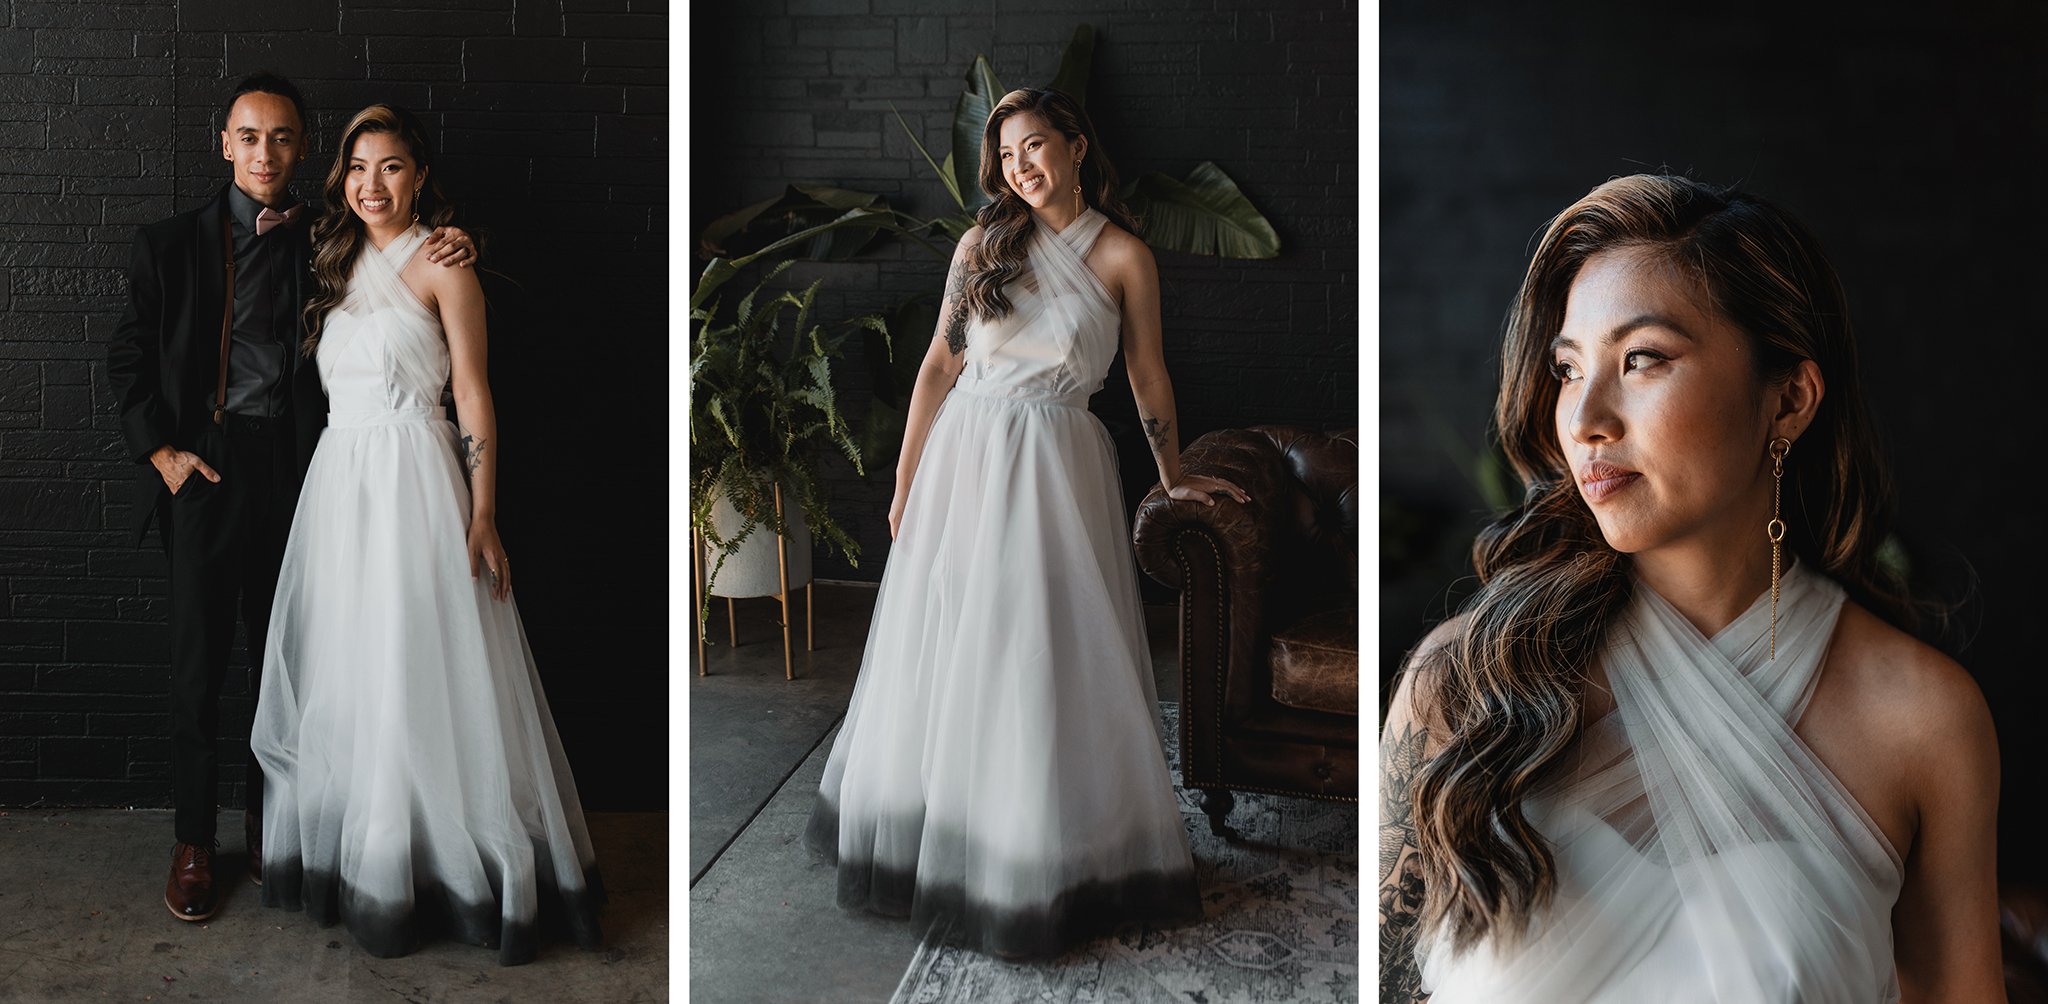
In the end, my customized “wedding dress” checked off every single one of my boxes, and then some…
+ significantly under budget
+ hid food baby
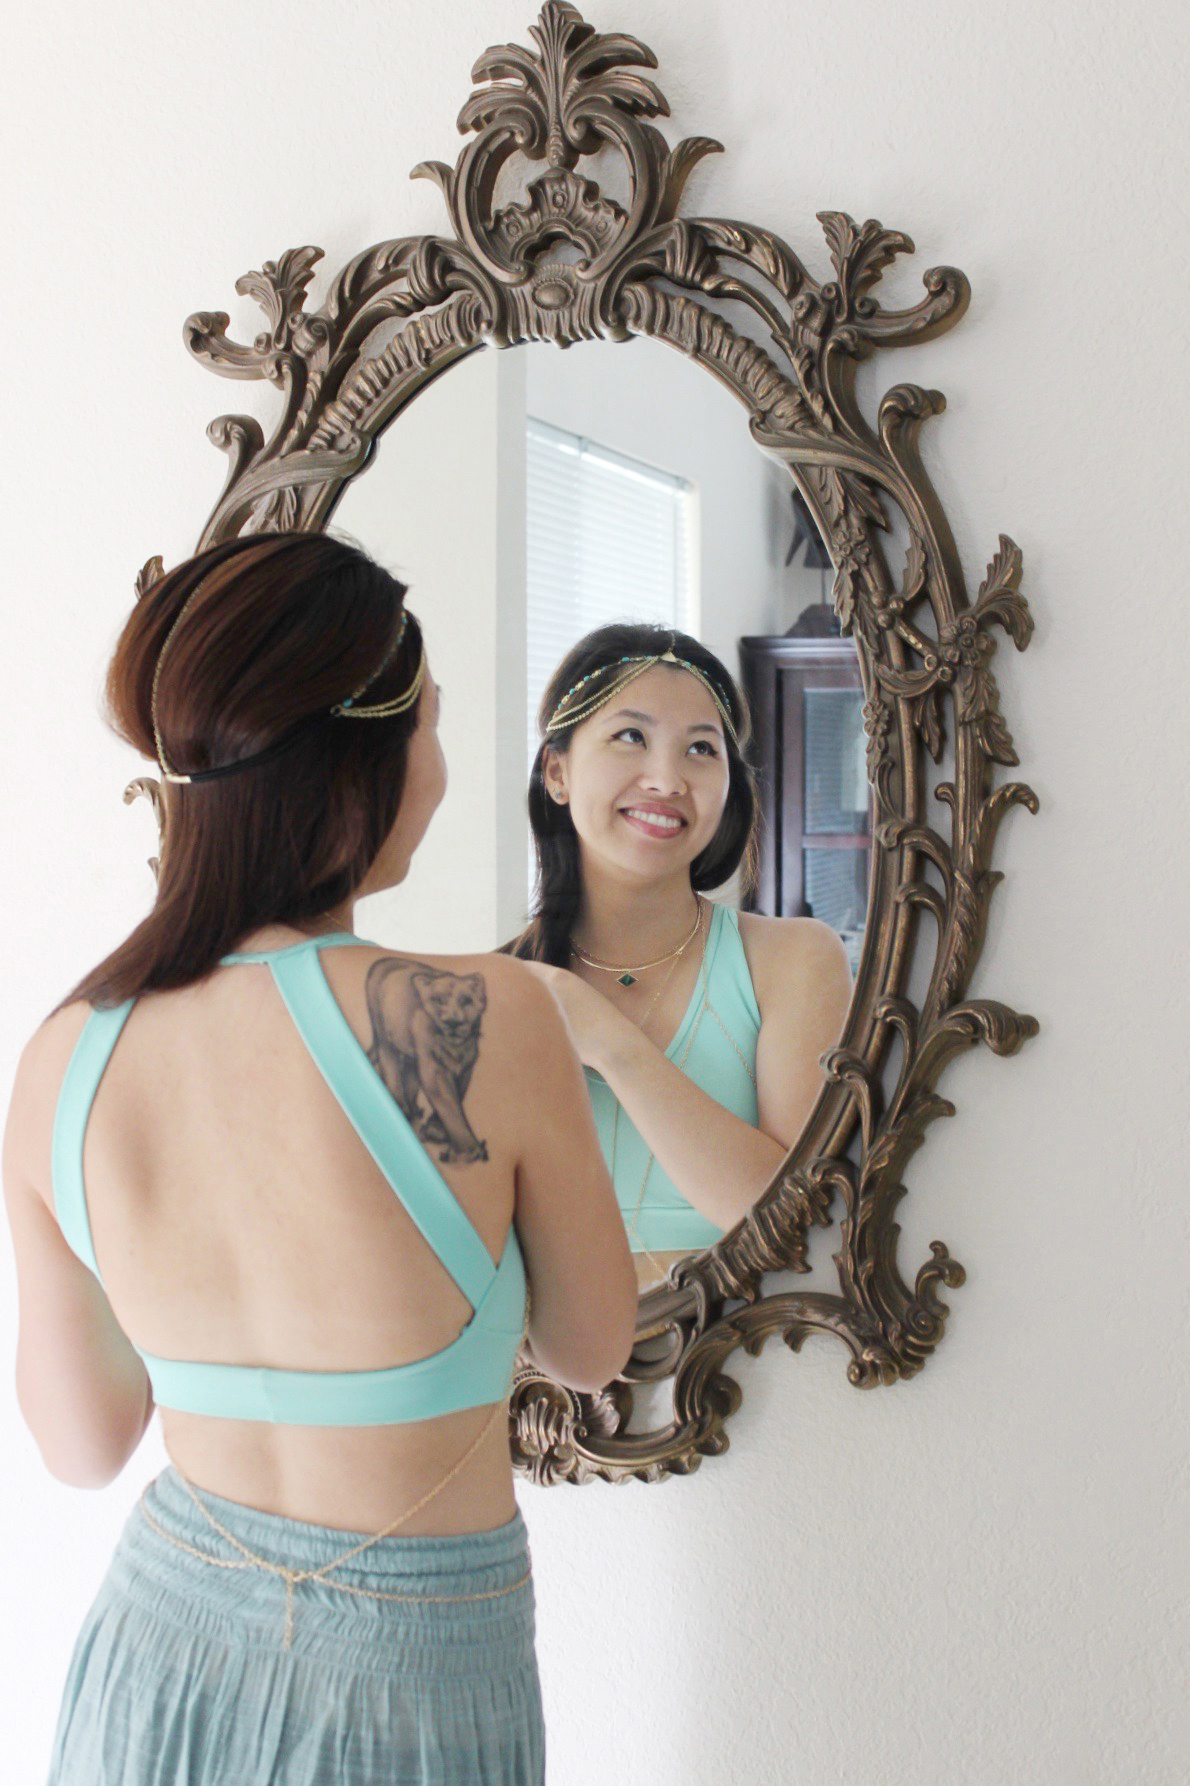
+ accentuated tattoos
+ minimal, but still made a statement
+ comfortable / breathable / moveable
+ easily used bathroom without assistance
+ easily / quickly did outfit change for wedding dance
Photography | Katie Clare Photography
xx
Dana
